When you click on links to various merchants on this site and make a purchase, this can result in this site earning a commission. Affiliate programs and affiliations include, but are not limited to, the eBay Partner Network.
Couple of pics of the Realdash Interface V2.0 board. This is a board I designed and had fabricated for this project. It serves several functions that will both allow the digital dashboard and modern steering wheel. By virtue of interfacing to the CAN bus, new functions can also be added, so more cool stuff will be possible in the future.
25 March 2022
I have been very tied up lately, and have had very little time to work with the car. In the background, I have been collecting up parts for the upcoming HAG215 differential swap. I keep learning, and this swap is looking to be a bit more straightforward all of the time. I had been looking at a major modification of the rear subframe to account for the 'dogleg' mounting style of the 2008 Dodge Challenger SRT8 differential that was acquired. This same type of mounting was used on the majority of the MB cars, also, but recently, I stumbled onto a blog with pics, and lo and behold, an E55 uses the 215mm differential, but with the 'narrow' mounting of the rear cover, just like the Crossfire uses. Excellent! So, while on a road trip next week, I have plans to stop by a particular junk yard to pick up a complete E55 rear end. The second problem with the 215mm differential is the axle situation. My previous plan had been to build a hybrid axle with Challenger inner joints, and Crossfire shafts and outer joints. With some parts bin engineering, I did exactly that, and have the hybrid axles built. However, there is some anxiety over lengths, as the 210 & 215 differentials are about 1" wider than the stock HAG190.
While perusing MBWorld, I read a thread about a particular W211 E55 enthusiast who wanted the bolt up type axles in his car, and had made new stub shafts for the 215mm differential, but with the correctly spaced/sized flanges for bolting up axles. I sent him a message, and he told me that he had them made, but didn't plan to have any more made. Bummer. Then he said that he has since moved up to something bigger, and that the stubs were sitting on the shelf. Would I like to buy them? Um, yes, please! These arrived from Australia a few weeks back. Soooo, if the correct differential rear cover can be procured, everything else should be in place.
By now you are probably asking yourself, why bother with all of this? Just get a Wavetrac for the stock differential. Well, two things. One, finding a Wavetrac for a HAG190 is a challenge on the best of days. Second, this car is making a lot of power. I have been amazed that the stock differential has lasted this long. Oh, and third (didn't know there was a third, did you?), I have a brand new Wavetrac for a 215mm sitting on the shelf. Most of this belongs in the Differential Swap thread, but that one will get updated, once a final, workable solution is implemented.
There are plans to swap a SRT6 driveline into @QuadPrism 's 04 coupe somewhere down the line. For that car, we will probably try to track down a Quaife for a HAG210, which is also sitting in the shop. Odds are, the progress on that project will be much more applicable to most Crossfire owners, than this 215 swap. In either case, I like the idea of the bolt in axles, albeit they are a bit harder to come by new, than the Crossfire axles are. Weird that it would be that way.
<break> <break>
Next up is a small pile of drivability problems the car has been having. They seem to be fuel related, particularly very high long term fuel trims (LTFT) or in Chrysler parlance, fuel adaptives. This combined with odd lean spots and stumbles off idle means that attention has been mainly put on the tune. However, it turns out that the tune is NOT the only issue. Recall that earlier, Bosch 630cc injectors were swapped in. These are modern injectors, and they use the standard EV6 type connector, whereas the Crossfire and the M113K use the original Bosch EV1 connector. No problem, you can buy adapter harnesses that will change the plugs for you, making installing the Bosch 630's a plug and play swap.
Turns out, that these are not the highest quality item on the face of the earth. The car started throwing CELs for Injector #1 driver issues. After acquiring decent EV6 style connector pigtails, and on the advice of someone who has encountered something similar, the original EV1 connectors were all cut off this week, and the higher quality EV6 connectors soldered in.
Finally drove the car about 30 miles this morning, and no more CEL! What's more is that the LTFTs all dropped to reasonable numbers! Still have some drivability issues, but the mid range power is up quite a bit, and is much smoother. Total cost on the connectors as $14 shipped for all 8. Took just over an hour to install them with shrink wrap. I'll call this one a win.
There are still drivability issues that need to be addressed, and the tuner is not thinking the tune is part of the problem. He thinks there is a flow issue with at least one injector in Bank 1, based on a LTFT disparity that is consistent between the two banks of cylinders on the engine. I went ahead and purchased another set of these same Bosch injectors from a different source, and they should arrive tomorrow. I'll swap those in, and then report on the findings. The first set will be sent out to be flow tested, and if all are good, will be used in another, future project.
Lastly, there is a very annoying rattling sound that shows up, particularly at cold idle. It sounds like an exhaust rattle, but despite crawling under the running car several times, a source of what it might be hitting or rubbing on has been elusive. Last night, I thought it was possible that the torque converter bolts were backing off, so after getting the car in the air, and inspecting those, that was ruled out. At this point, it seems that rather than a metallic rattle, it may actually just be an exhaust leak at the joint between the right side exhaust manifold and the downpipe. The downpipe is stainless steel, and stainless, while wonderful, will often prove to be hard to seal at joints. I will pull the downpipe off this weekend, and inspect.
Great update across the board! I am positive it is well received! GREAT POSTS!
18 Apr 2022
Not a lot of progress on new mods to the car lately. This is due to the acquisition of two new to me Crossfires: 04 coupe (6M) and an 05 SRT6. Both cars arrived as total basket cases. Both are now nearing completion, and both will be sold to help fund more madness on the thread subject car and shop improvements. The 04 coupe I am falling in love with, so it needs to leave before it becomes my daily driver The SRT-6 was repainted, and is slowly coming all back together. It would not be a purist's car, but it will make someone very happy that it is sharp looking (but not perfect) and mechanically sound.
Back to the subject, the M113K car has completed two back to back trips to Atlanta, including some spirited highway driving and daily driving duties in and around Atlanta. This put a total of 1800 miles on the clock, and now have crossed over 7k miles total on the V8 swap. Mileage on the trip varied, but usually around 20mpg (+/-), but it got worse every time some other hot car needed to see some tail lights (LOL C7 Vette 'KLOCKME'). The only issue at the moment has to do with heat. The engine is fine, but the supercharger system is not happy. With a couple of 85� days in there, wide open throttle (WOT) blasts on the highway were confined to about 7-8 seconds each, followed by the supercharger disengaging until it would cool down. Interestingly, the car still makes a lot of power with the supercharger (SC) disconnected. IATs drop very quickly with the SC disengaged versus just driving down the road with the cruise on, otherwise.
IATs were persistently around 190�, and would shoot up to over 230�. This is due to a few factors. One, I had to disconnect an intake hose to the left airbox, as it kept collapsing under boost. This meant that the now open airbox inlet was sucking in hot air from the engine bay. Second, the SRT6 heat exchanger is pretty well marginal even for the M112K, and now it's being asked for a lot more. Third, we're now on a 77mm pulley, which makes more heat. Lastly after the first trip to ATL, it was discovered that the hose for the return from the intercooler was pinched at the frame rail where it makes a turn to head towards the pump. This severely restricted water flow. It was repaired before the second trip, but it really only made a marginal difference in the overall problem.
So now it is time to move on to the Killer Chiller install. The latest version of the kit (Gen 5 Race) is sitting on the shelf, now, mocking me as I play with other cars. I still need to work out a water tank solution. I was really hoping to put a tank in the trunk, but on the Crossfire that is not the most practical thing. It may be more like the battery gets relocated to the trunk, and a water tank is placed where the battery was. If my math is right, I can get a 2.7 gallon tank in that spot. The goal was more like 4-5 gallons, so the final solution may be that there are multiple tanks. The KC came with a 1 gallon cylindrical tank that may end up getting used in series with another tank. Still pondering this aspect. Also trying to decide where I want to mount the KC, and if I want to move the intercooler pump, since the heat exchanger (HE) will also be removed in that process. Lots of things to consider!
On the way are some goodies from Needswings, including a custom built DCAI (yay!) and a pair of Rob's modified plenums with a single crossover tube. Upon making measurements, it was decided that there wasn't quite enough hood clearance for the more standard dual crossover tube arrangement.
Wire, connectors and support goodies have been acquired for the Real Dash setup. I am hoping to install that in phases, beginning in early June. The first phase will see in installed of the red interface board (seen in pics in earlier posts). Along with it will go the W213 steering wheel. The goal of this first phase will be interfacing the following:
- Horn (yes this will change a bit)
- Android radio (volume control, etc)
- Shift paddles
This last one will require the most fiddling with the software, I imagine. It will not hook up directly to the shifter, but rather it will put paddle shift requests onto the CAN bus, and the TCU will pick them up that way.
Before any of this can happen, two other projects (are you seeing a trend here, yet?) have to be completed. Besides to two aforementioned Crossfires, I have a 1962 Triumph TR3B that needs the engine finished and installed (short block is mostly assembled) and a right total knee replacement. That little gem is supposed to happen next week, but like many Americans, I am fighting with the insurance company. Left knee will happen later this year. After almost 40 years of living with severe knee pain, I am quite glad to get this finally taken care of. My first aftermarket parts! When finished, I hope to be able to play with cars more efficiently.
Awesome update Neil! About the surgery, sure hope you have a good surgeon (check here: https://www.verywellhealth.com/how-t...ntials-2614997), seen far too many screwups from the OR over my lifetime (Doctors are licensed to practice medicine, when they get it right they retire!). I coined that phrase, it is all mine! Been spreading it out all over the world for quite a few years. Best wishes!
02 May 2022
Since my last update, I have been dealing with weekly deferments to my surgery, so in the meantime, I have been making weekly sprints on working on the two project Crossfires, with the NA/M6 car complete, and the SRT6 at 95%. Sundays are 'relax' days for our family, so by all means I should fill the afternoon up with 'fun' projects, instead This week it meant some quality time with the subject Crossfire. Mind you nearly zero has been done with this car, except to drive it. Two trips to Atlanta and back, and it still hasn't been washed.
This past Sunday it was high time to proceed with something new. Rob from @NeedsWings did some convincing that the engine really should have a set of his crossover tube plenums. The problem was that he had not tried to make some for a M113K in a Crossfire, so hood clearance was a concern. After making some measurements with stacks of Playdoh, he determined that he could build crossover plenum with one crossover tube, instead of his usual two. The theory here is that the crossover tubes will even out flow in these plenums, and distribute air more evenly bank to bank. This ensures that each intake port pulse is absorbed by nearly twice the plenum area. This results in better air handling and air flow, which of course mean better (more) power. He shipped them to me a couple of weeks ago and they look great! NeedsWings sent them with the needed silicone crossover tube, clamps, gaskets and even a set of shiny stainless steel hardware. Installation is as straightforward as it can come, and took all of 30 minutes to complete.
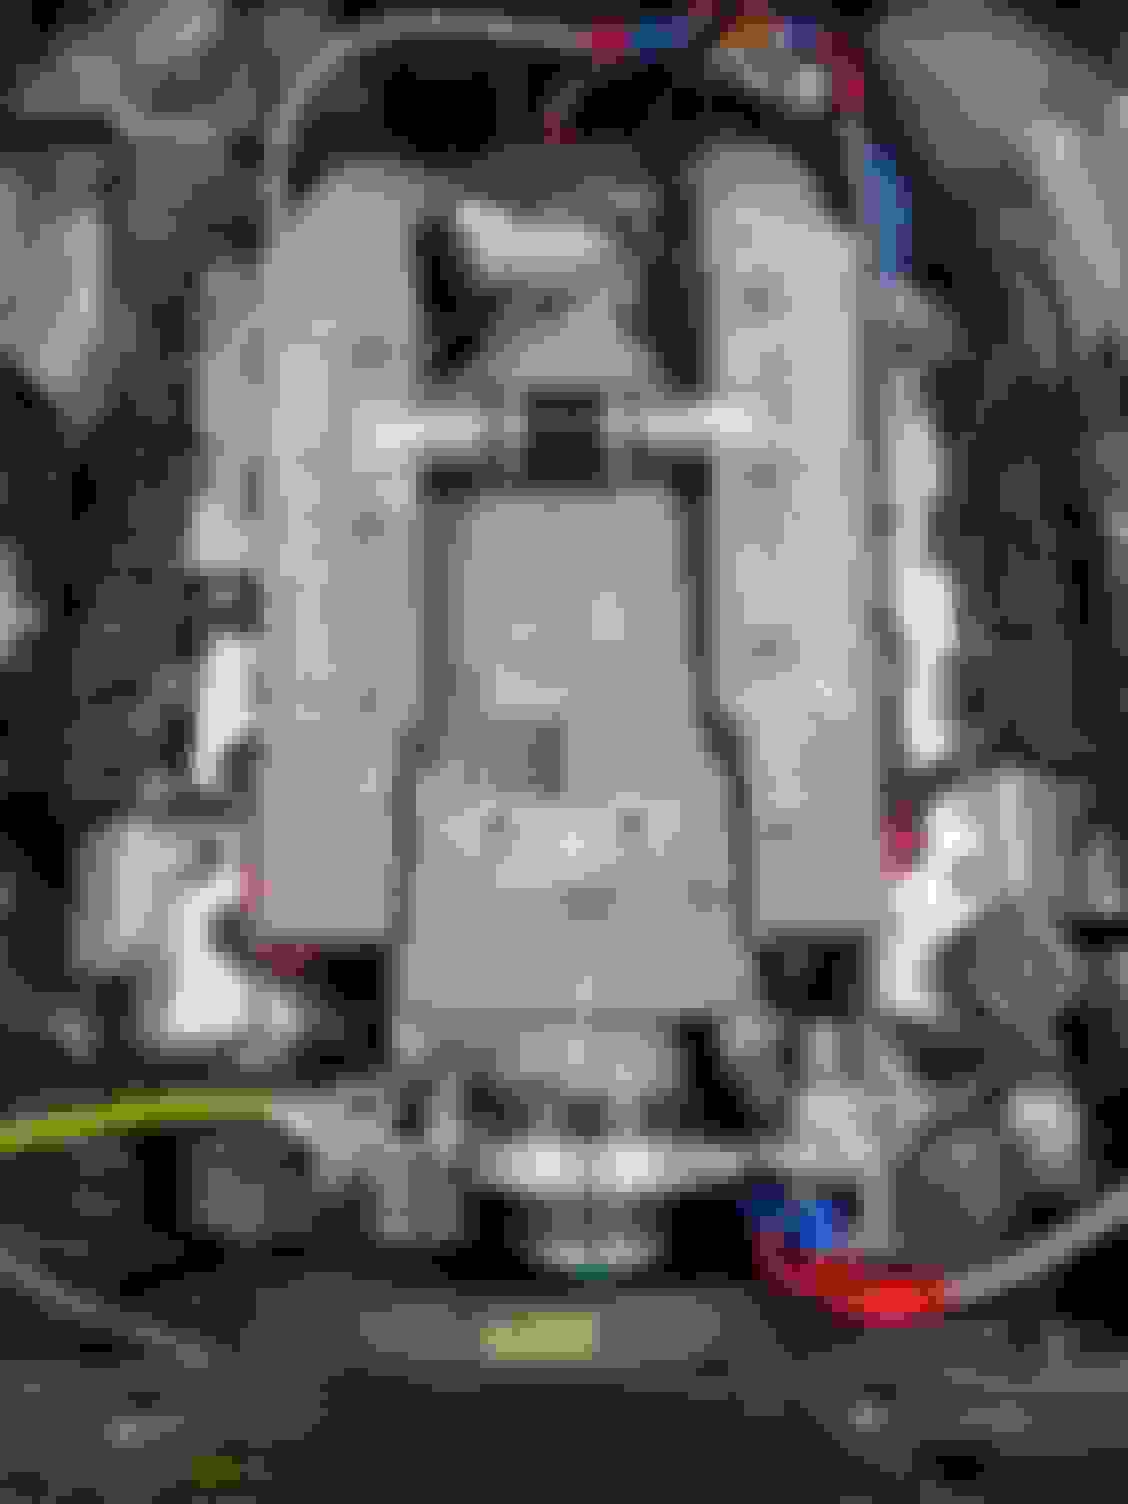
The next problem is one that has plagued this car for a bit. High air intake temperatures (IATs). Rob thought that part of that solution should be one of his DCAI systems. After some back and forth with him on configuration, we settled on a system that would put inline air filters into the mix, and intake horns up next to the radiator, rather than exposed air filter elements up in the grille. More on this in a bit. The very first problem was to work out how to get the intake horns in place up near the grille. They have to fit with hoses through the small openings to the upper left and upper right of the radiator. On a 'normal' Crossfire, this is no issue. This car? Ahem. Remember way back when space up front to clear the cooling fan and the front of the engine was needed? So, the solution was to relocate the radiator package forward 2" and down 1". That now causes clearance problems. The left side just crushes the rubber hose:
Remember earlier it was mentioned that we wanted inline filters, and not the typical filters in the grille setup? Oh boy, sure glad that decision was made! There's no way that nice, round aluminum horn is going to fit in there, either, even if that oil cooler was moved. There was no way. The right side was a little better, but still too tight to get the hose in there:
With a little work from the 'suggester' (2# ball peen), the 'persuader' (5# sledge) and a bevy of long drifts, the opening was made wider and rounder. The end result was that the right side of the DCAI finally went together. Below, you can see what it all looks like with the radiator core support removed, which gives a nice cross-sectional view of the setup. This is fairly close to the way it would go together on a more 'stock' Crossfire/R170.
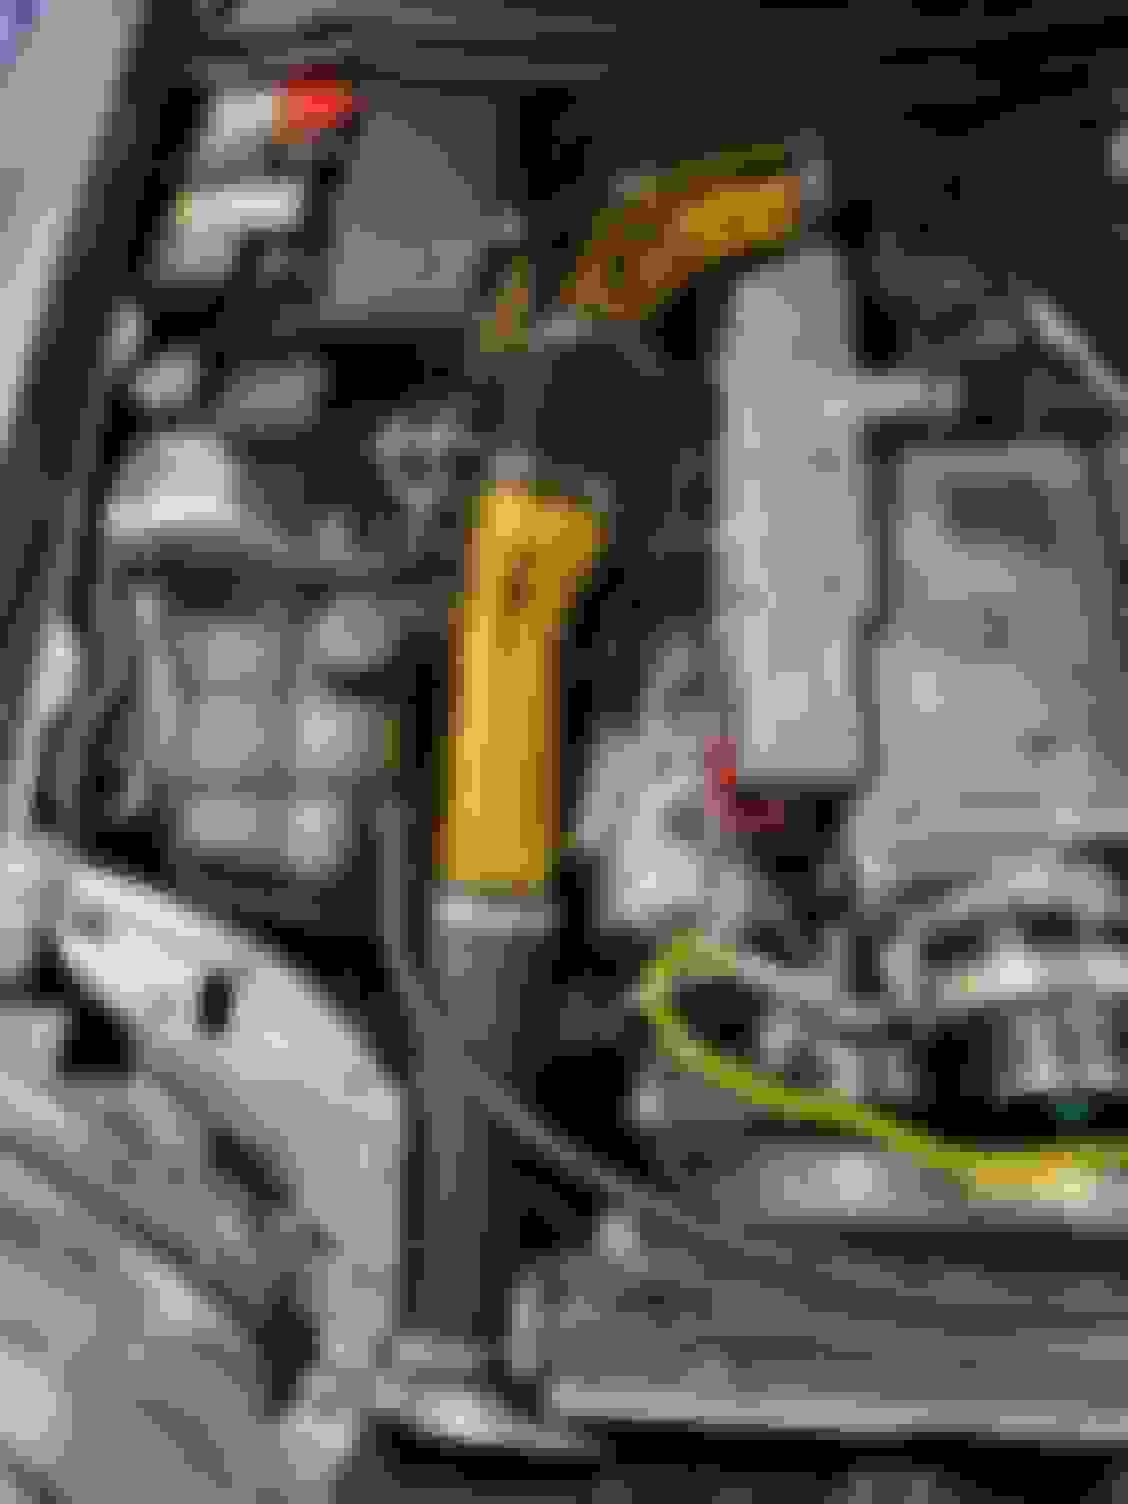
Unsure of color choice at the time, I opted to have the pipes left with raw aluminum, rather than powdercoat them. After thinking about it, it was decided to use heat wrap tape on them, which would cover the powder, anyway. Design Engineering Inc (DEI) gold foil tape was selected. On a side note, these installs of heat reflecting tape always looked messy, and why wouldn't people take effort to lay it on nice and flat, instead of a wrinkled mess? Well, school was about to be in session. There is zero stretch in that tape, so fitting curves and contours is almost impossible. Yup, my work looks like a wrinkled mess, just like every other application of that tape ever seen. Now, the tape could be cut in strips just long enough to make one wrap around the pipe, and the seams would be underneath, That would probably result in fewer wrinkles. Then again, it would be a pipe full of seams that would beg for moisture and dirt to get under, and peel the tape into a mess, too. Maybe there is too much overthinking happening here. Alas, there are wrinkles. Lots of them. Perhaps someone could send along results that give no wrinkles. These could be redone. OTOH, my kids love the wrinkles. They think it "looks very NASA".
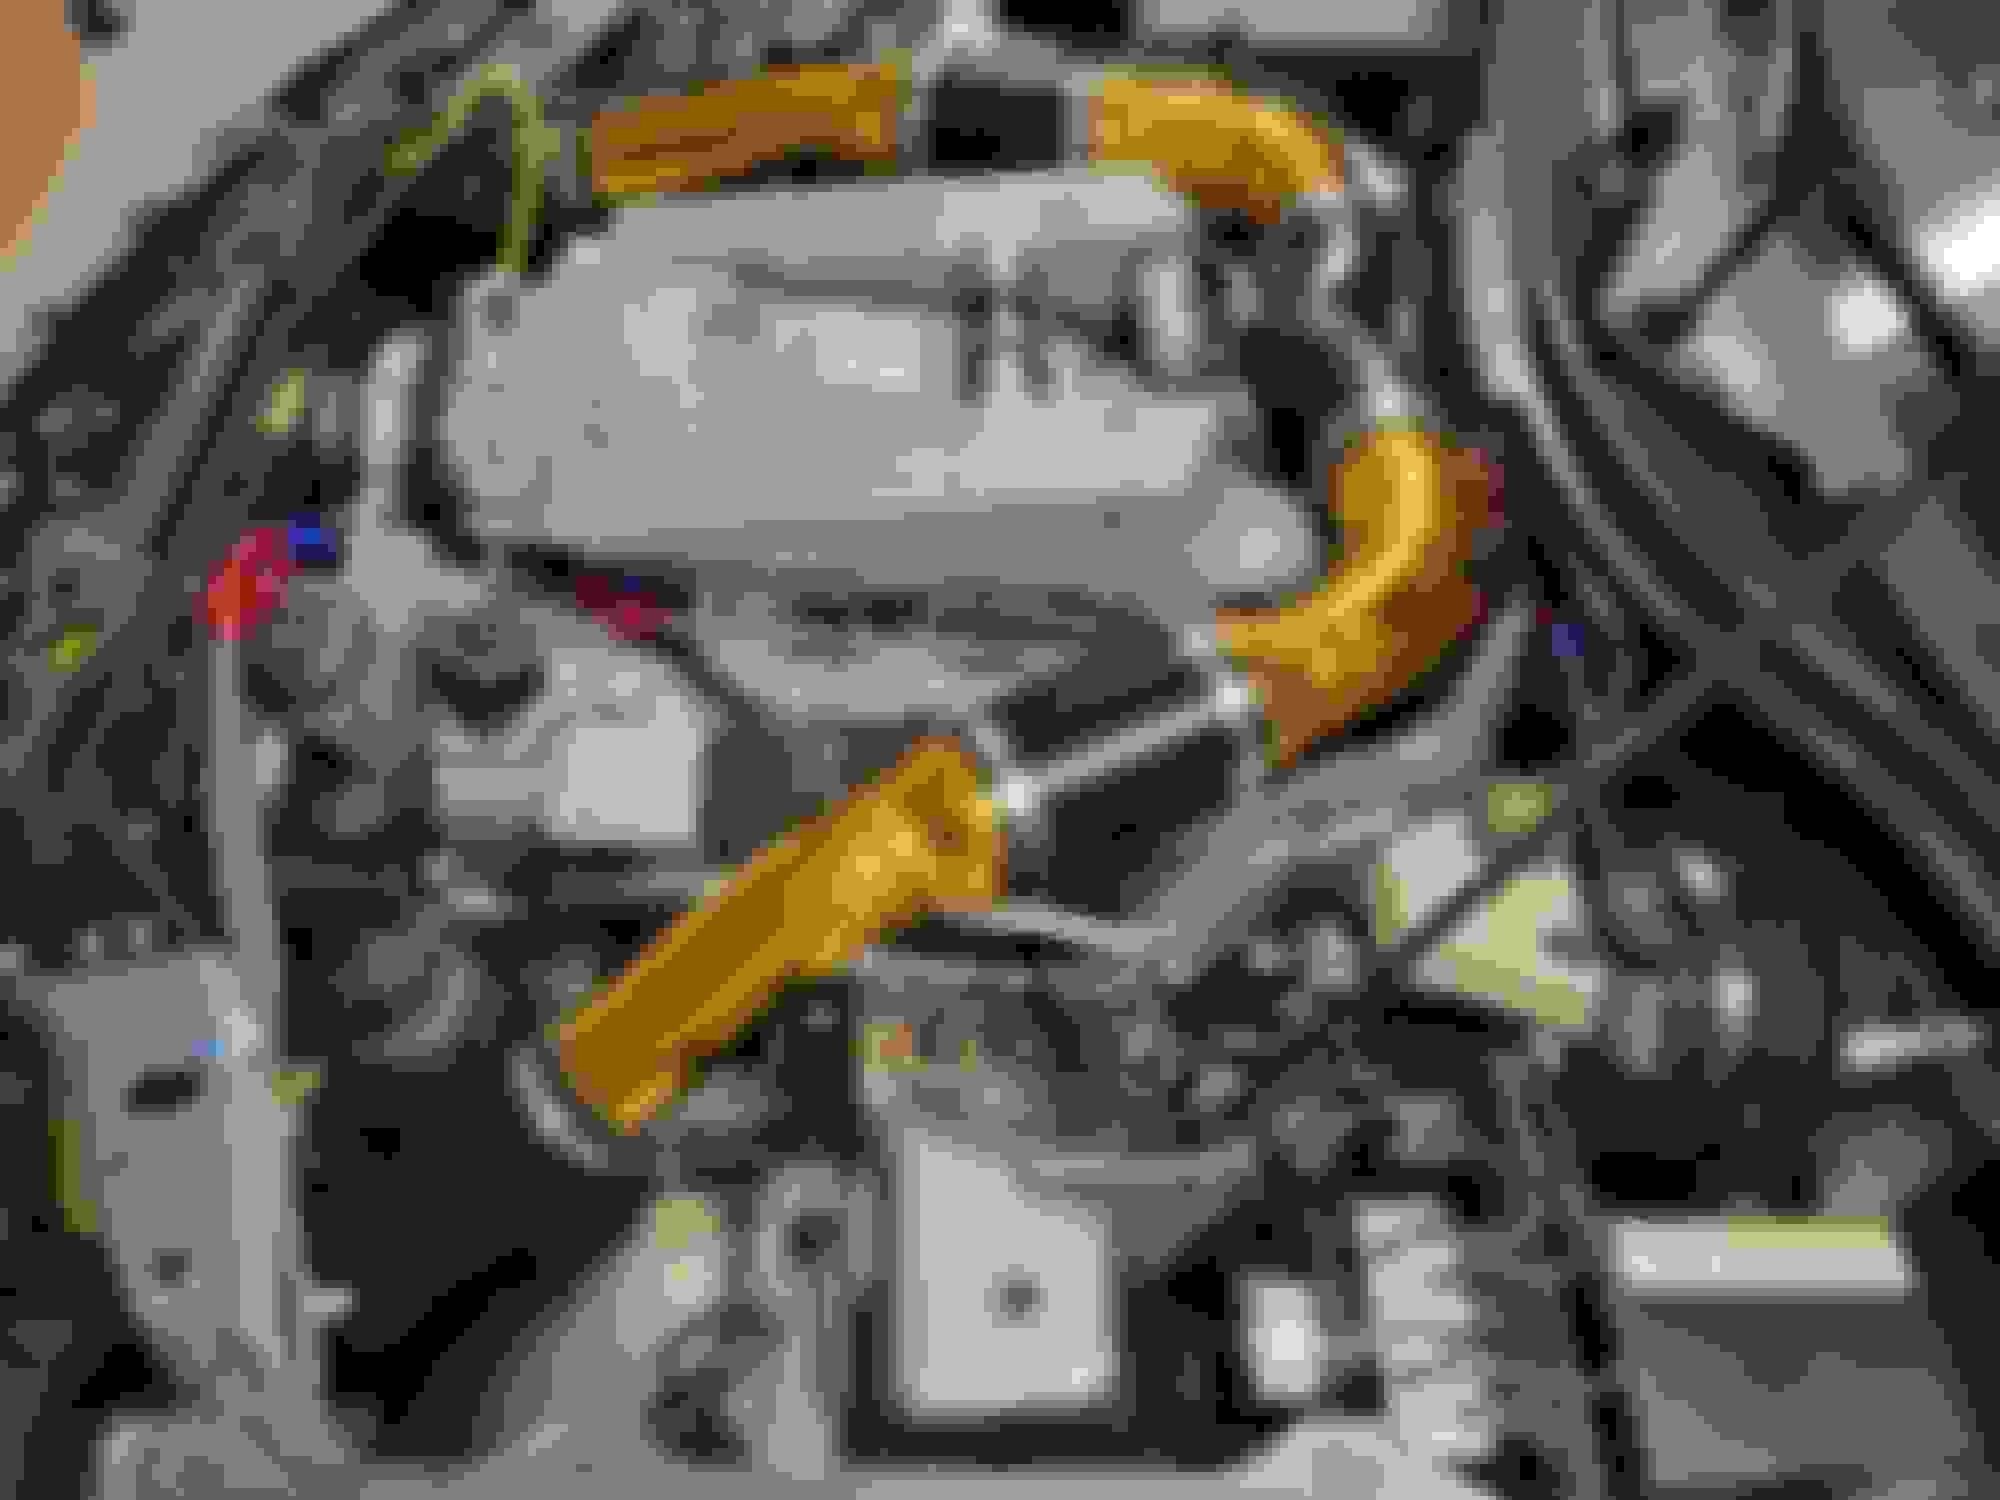
That was the easy part. The left side had to be dealt with. After lots of eyeballing the situation, the thought occurred that perhaps along the radiator was not the optimal choice for the left intake. There is an opening along the bottom of the headlamp, and since there is no SAI pump or fan controller on the left inner fender, there is room. Ah ha! OK, back in business! Instead of proceeding straight from front to rear, along the valve cover, the pipe could be moved to a ~30� angle towards the front left corner of the car, and under the headlamp. Nice! Can't be that easy, though. Upon mocking up the setup, it was discovered that the inline air filter housing will hit the A/C lines, and prevent the pipe from going where we want it to. The solution was fairly straightforward, though. Disconnect the clamps holding the large suction line and the small pressure line, and simply swap them. This moves the large suction line towards the engine, but also down the shock tower slightly. Importantly, this opens up the needed clearance.
(Place holder for a pic of this)
A temporary silicone hose is then added to run up under the headlamps, and voila!
An aluminum 3" pipe will need to be ordered, and some fiddling with a intake horn under the headlamp, but the 'bones' of the system are in place, ready to go! I am pleased, to say the least! After install, the car got a very much needed bath, and that was a relaxing Sunday wrap for me. Here's a couple more pics of everything:
p.s. - Important item! I want to powdercoat those intake plenums, but keep wavering on color/style. Anyone have opinions? Almost any color or texture could be done. What are your thoughts?
I want to powdercoat those intake plenums, but keep wavering on color/style. Anyone have opinions? Almost any color or texture could be done. What are your thoughts?
Red. Perhaps a wrinkle finish?
I think gold would be too much with the gold tape wrap; blue would clash; black or gray wouldn't pop enough. Red would go well with your red anodized hose fittings.
Nemiro, im just wondering. You ever thought about doing a blower swap on your m113k? I know VRP and Wiestec both make whipple swaps. I thought about it while watching a youtube video of a guy swapping a VRP whipple onto is e55 wagon. Only issue I see is that the blower is about 8k, which is a m113k swap itself lol.
It would be nice, but I'm not made of money, unfortunately. The car is already pretty ridiculously fast, so I'm not sure it needs to make any more power. OTOH, I do like toys, and if one fell into my lap, it would probably make it under the hood, anyway
Thanks! It's far from done. I won't say the cliche that they're never done, because that isn't true, either. When my projects are done, I do tend to sell them, and move to the next challenge. This one still has a few years in it, and as it progresses, I'll keep posting up here. The next big project will likely be the rear end and then the RealDash setup.
22 Jun 2022
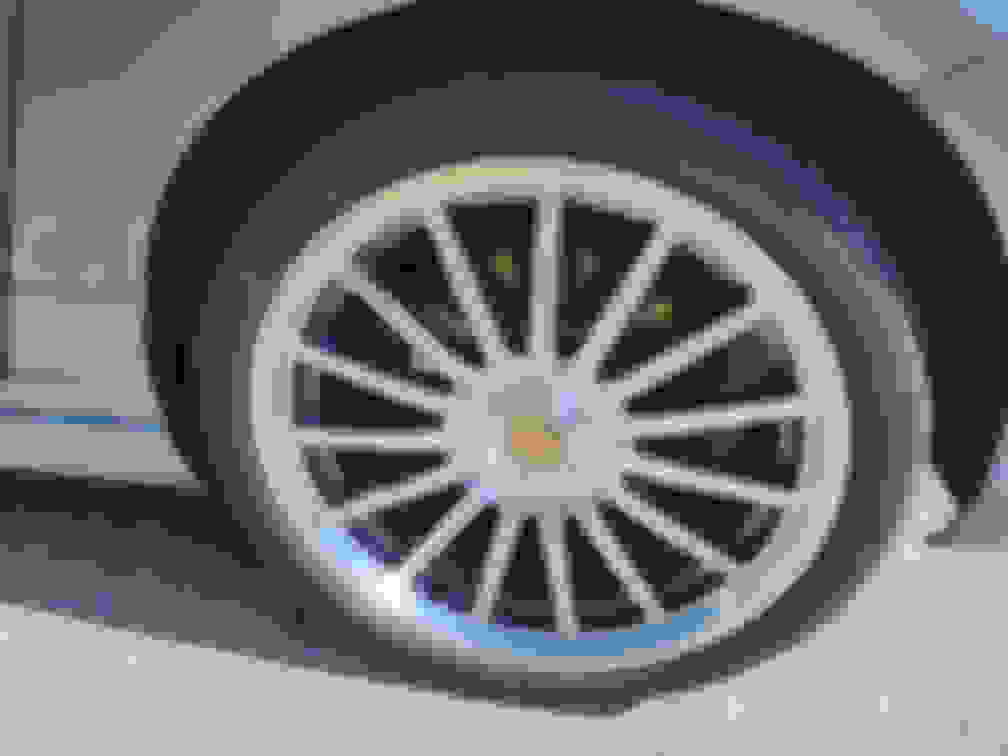
Less than four weeks after installing the last round of goodies, went out and cleaned the car up, and we took the car on a 150 mile scenic trip
Really digging the freshly refinished wheels and the grey powdercoat! Anyway, the trip went well, until the end of the night. When we were less than 10 miles from home, the car began to run rough, and was missing on most of the cylinders. Check Engine light was flashing, and it barely wanted to idle. Got into a gas station, opened the hood, saw nothing obviously wrong. Fortunately, there is an Android radio in the car, and a bluetooth OBDII adapter in the socket for times like these.
OK, so my hunch was right. Lots of misfiring going on. Hit reset on the codes, and the car ran ever so slightly better, but a mile later, the CEL was on again, and we limped home. Checks under the hood revealed no obvious wiring issues. So, next guess was a bad ECU, let's swap that out. New ECU in, started the car, ran better. OK! Bad ECU. Time to call it a night. Went to go do some other maintenance the next day, and upon moving the car to the shop, CEL was once again flashing, and it was running rough. Uh oh. Put DAS on it, and..
Missing on half the cylinders. On different banks. At different ends of the engine. Weird. Open the hood at idle, and the supercharger belt tensioner is bouncing around like crazy. What the? Get a flashlight out, and one of my fears of all of these engines (M112 or M113) is realized. The harmonic balancer is wobbling. Have heard of this, was thinking it would happen to this engine one day. No sweat, I will order a 180mm crank pulley, and swap it, we'll be done. Hehehehe, silly boy!
First, the requisite week long wait for parts to come in, and then the fun. The handy, dandy M112/M113 crank holding tool fits the balancer in the car. Does not fit a revised contour of the new pulley. Grrrr.... Fortunately, work has a machine shop on the premises, the machinist took pity on me, and turned the tool in a lathe to that the edge off the tool, which now allows it to grab the new pulley. Perfect! Now onto the work. Put the crank holding tool in, got the 27mm 3/4" drive deep socket on there, breaker bar, 6' piece of pipe. Here we go! The pipe literally fell. I had to catch it to keep it from hitting the car. What the? Pull all the tools off, reach in, and remove the bolt with my fingers. Oh no! THE nightmare scenario for any of these MB engines had just arrived at my place. You see, this bolt it supposed to be tight. VERY tight. Essentially, torque it to 147.5 ft*lbs (200Nm), and then turn it another 90�. This pulls the bolt until it is so tight, and under so much load that it literally stretches the metal of the bolt out, causing a springing effect. I have no idea how much torque is on the bolt at that point. but it is a lot. This one came out with fingers.
This means, of course, the whole balancer is wobbling around on the crank snout. It means everything is galled up. In this case, it meant that the balancer did not want to come off the crank, at all. FIVE hours of pulling, prying, tool making, heat, dirty words, and a lot of sweat (It's been right at 100�F here in swampy Florida, lately), the balancer finally gave up the fight, and fell to the floor. Crank is galled, but not as badly as I would have figured. Crank key is obliterated. Pulley took the brunt, fortunately. It is trashed. Rubber for the pulley was fine. So what happened? In short, bad maintenance. At some point, this pulley was removed, whether to be replaced or front main seal, who knows. What is known is that the bolt was not properly torqued. When I see those YouTube videos of people putting this same pulley back on with an impact, well, this is what the end result will be. This failure was a ticking time bomb that was set long before I owned this engine. If you do not have the tools, know-how, or strength, stay away from working on the balancer on the M112(K)/M113(K) family. I think other MB products use the same setup. Frankly, it is a horridly bad design, and a real let down on MB quality engineering. I digress. There is a lot of work ahead.
Recovery is now the game plan. After cleaning up the remains of the crank key, polishing the crank snout, and some trial fits of the new pulley, the key was the next thing up that had to be dealt with. The teardown of a M112 engine sitting in the shop commenced. It was a shame to take apart an otherwise good engine, but it was the best option to get this car moving again. The key is visible with the balancer off the engine, but getting it out requires a tremendous amount of disassembly. After getting to about the 85% mark on M112 parts disassembly, I had a couple of thoughts:
1. This is a lot of work, and will be 10x worse in the car
2. You own a shop full of fabrication equipment. Apply a little fine "Southern Engineering" and fix this car - now!
And so I did. It's one of those things, where it's not stupid - if it works, so stay with me on this. The key, as intended, is only meant to locate the balancer on the crank shaft, to make sure it is indexed to the right location. The tremendous force of the main bolt clamps the pulley in place, and prevents it from moving. I just need to get the balancer located. Breaking out the MIG welder, a solution rapidly came into focus. A spot of weld, a little shaping and cleanup with a Dremel tool, and there we go! Actually, this part only took about an hour, and the only casualty was that poor M112 that I now wish hadn't been taken apart. It's ugly, I'll admit it. Not some of my best work, but at this point I was the better part of 20 hours into this ordeal, and has it been mentioned that it was 101�F out? Oh yeah, it rained. Then the sun came back out. It got hot again. Steam. Lovely. So, while basting in the sauna, this was the end result. It actually looks better, and more square in person, but the camera does what the camera does. More importantly, the balancer went back on, and indexed properly. A proper key will be dealt with then the engine comes apart in the future.
Eagle-eyed readers will notice the horrid abuse the timing covers was subjected to, in the struggle to remove the old balancer. Others will catch a glimpse of the next part. Before we get to that, let's talk about that key again. It's pretty wimpy. And the MB engineers knew it. The trick was that the bolt and its clamping force would take care of it. This is all carefully calculated by the MB engineers, but math sometimes fails lies. If there is a pulley change anywhere in the mix, then more twisting force is applied, and the chance that the bolt is not quite enough goes up. When it does, the key takes the brunt. Being made of a softer steel, and by design, meant to shear to fail, well, it does its job. People who add larger crank pullies encounter this rather often, and so many aftermarket solutions come with what is called a pin kit. These come in two main flavors. One has an insert that fits in the space at the snout of the pulley, and has its own key way that a square key engages a corresponding keyway in the new pulley. The insert has three holes in it that go all the way through to the face of the crank snout, all around the hole for that big main bolt. The installer drills through these holes, into the crank, and inserts the roughly 1/8" diameter pins into the snout. The main bolt hold the pins in, and now everything is more locked together. Other pin kits come with a jig that will put a 1/4" hole right at the interface between the crank pulley and the crank shaft. The result is that the pulley and the crank snout both have these half moon cutouts that when lined up forms a full circle. A hardened pin is pushed down in there, and the main bolt retains it. Makes it like a new, bigger, harder key. My UPR 180mm pulley came with none of this, as their experience said that, "If the crank snout is not damaged, then there really isn't a need for a pin kit." Well guess what?
After reading online, I found that M113K community legend Joe Ernst had devised a fix. Here's a link to it: https://stumptownbenz.com/pinning-th...ercedes-m113k/
In short, I replicated what Joe did, and it worked flawlessly! I cannot thank him enough for putting up this valuable info! So, you can see the half moon in the above pic, here's how it all turned out
Once the fabrication was completed, it was a 'simple' matter of reassembly. A bit more proper install of the main bolt, too
The rest was back together within a couple of hours. At startup, a prayer was said, and prayers were answered. No wobbling!
Before this debacle, the engine had a stock lower pulley and a Eurocharged 77mm upper. On this current setup, there is a 180mm lower pulley and a stock 90mm upper. These two setups yield identical ratios, so there shouldn't be any more boost. That's not what happened, though! With the 77mm upper and a belt wrap kit, the engine made 12-12.5psi of boost. This setup makes 13.7-14.0. A gain of 1.5psi. That's a lot! I can only guess that the old setup was slipping, despite the belt wrap kit. All in all, I am very grateful that this entire debacle is behind me, and that this should not be a failure I am dealing with again for a long time to come.
p.s. - On a happier note, Wavetrac for MB 210mm differential (W210 E55) ordered today. Guess what's coming up soon?
I didn't use the stock fan, actually. I used a later model one out of a C or E class, can't remember which, but I do detail it in this thread. M113 might clear stock fan (maybe) but no way at all the M113K will. The late model fan works well, and I sat in traffic with the A/C on yesterday, and it was 105� out. Coolant temp was just barely above the midpoint.


 The SRT-6 was repainted, and is slowly coming all back together. It would not be a purist's car, but it will make someone very happy that it is sharp looking (but not perfect) and mechanically sound.
 Awesome update Neil! About the surgery, sure hope you have a good surgeon (check here: https://www.verywellhealth.com/how-t...ntials-2614997), seen far too many screwups from the OR over my lifetime (Doctors are licensed to practice medicine, when they get it right they retire!). I coined that phrase, it is all mine! Been spreading it out all over the world for quite a few years. Best wishes!