When you click on links to various merchants on this site and make a purchase, this can result in this site earning a commission. Affiliate programs and affiliations include, but are not limited to, the eBay Partner Network.
Inner Door Pull Handle Reinforcement
Ladies and Gentlemen... The Doors! Svengoolie gets his door pulls reinforced. PART 2 of 2
February 22, - February 26, 2024.
After reading posts about people's inner door pull handles breaking, I wanted to find away to prevent this.
I found a couple of posts here and on facebook on how to repair the broken ones. So I combined parts of both of those posts that I liked and modified it for more of a preventative maintenance solution.
Here's how I did the work on my car:
Last edited by M60A3Driver; 05-25-2024 at 12:43 PM.
I see spots! Did you see a doctor? No, just spots!
How I removed the hard water spots on Sven's rear window. March 5, 2024
PLEASE READ:
The following post is how I did the work on my own car. Whatever work you do to your car is your responsibility.
I'm not telling you to do it this way, this is just the way I chose to remove the waters spots from my car.
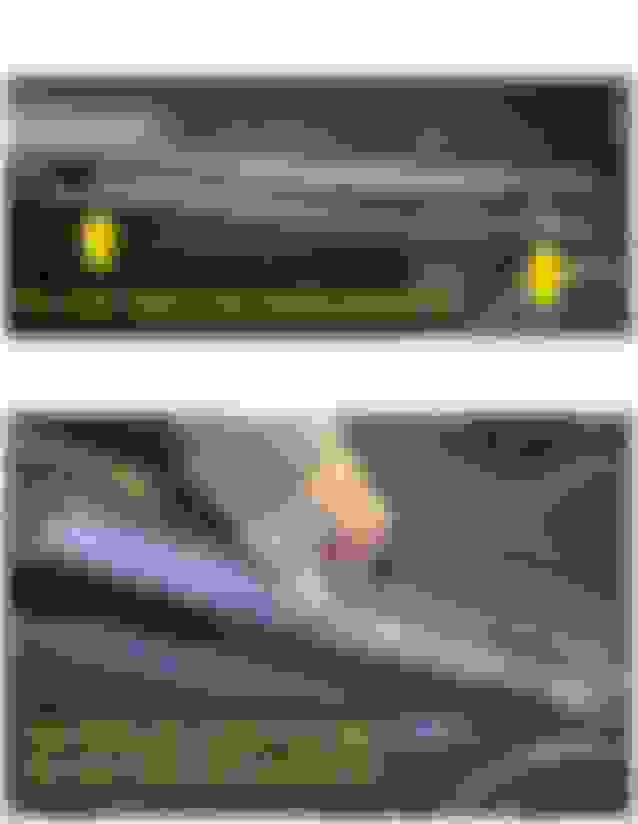
H7 Lasfit Headlight Installation
Svengoolie sees the light!
March 1, 2024
Driving at night with the original halogen bulbs was terrible! I couldn't see very far in front of the car at night.
Soon the animals would be coming out,and I didn't want to go head to head with a deer. After checking the forum and asking around, I decided on the Lasfit H7 LEDs with cooling fans in them.
What a difference!
The driver's side (North America) was the easiest. Just pull off the dust covers, disconnect the wiring, then push in the spring clip and pull back.
Make sure to note which way the tab is facing. Then pull the bulb straight back and out. Wear gloves when installing the new LEDs they were included with my LEDs. Just reverse install the new ones.
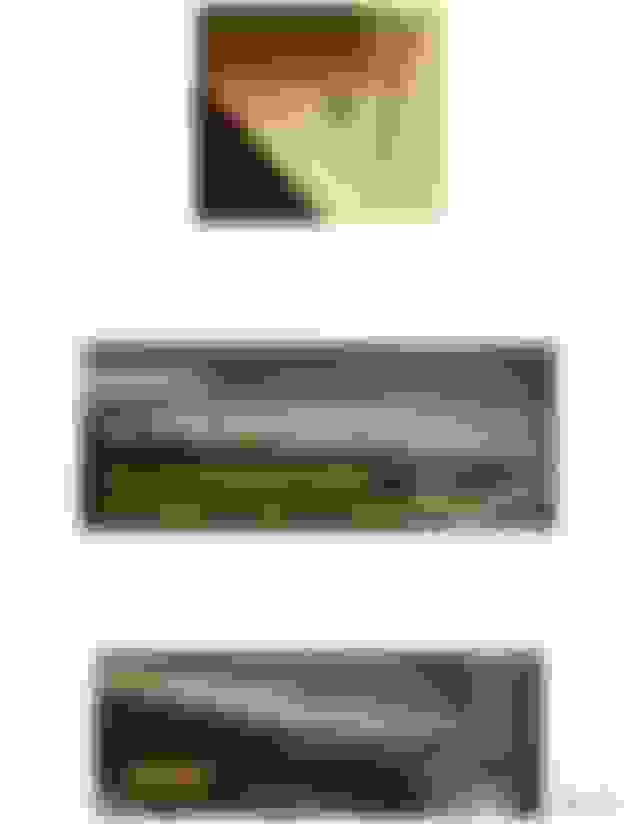
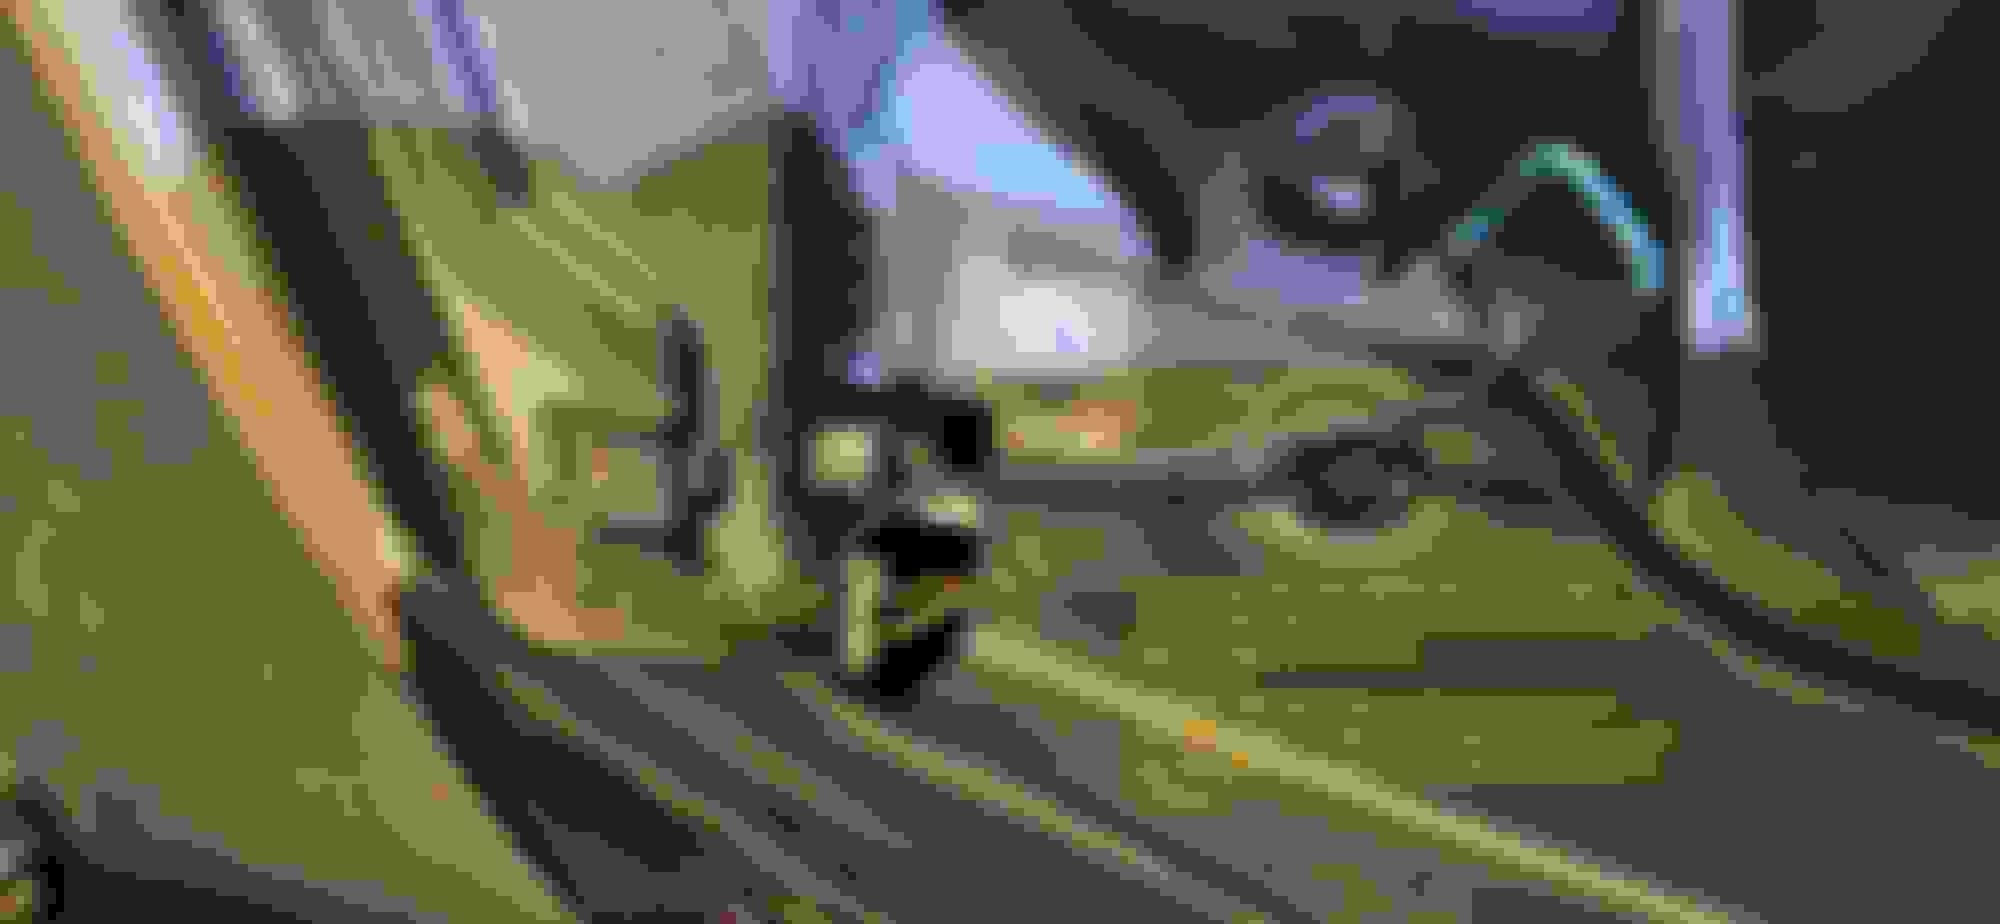
The Passenger side was harder because the best way to do it is to remove the over flow tank for easy access. I didn't drain mine, I just removed the two 10mm nuts and pulled it straight up.
Here's a tip; spray the rubber grommet on the bottom of the tank with WD-40 it will make it easier to remove and reinstall! Once it's out of the way, do it the same way as the driver's side.
I had no error lights and everything works the same as the original halogen bulbs. Just a hell of a lot brighter!
Here are some pics of how I installed the ones on my car.
It is harder on an SRT on the drivers side because of the fan module on the fender. I changed the passenger side low bulb and went to do the DS. I saw the problem and that I would have drop the bumper cover, said the usual F it and packed up my tools and had a cup of tea. At least the burnt out bulb on the PS is fixed.
Getting old makes for a lot less work.🙂
I give you a lot of credit for the work that you do.
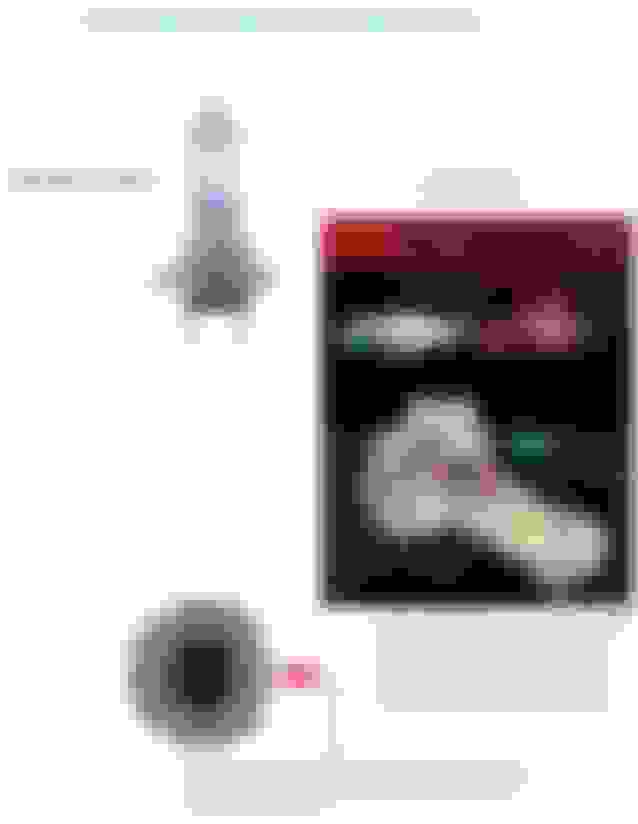
Side Marker LEDs and Interior Lighting Svengoolie is lit!
March 10, - March 13, 2024
After replacing the head lights I decided to say the hell with it and replaced all of the lights in and out. All of the LED bulbs I used were "CAN BUS Error Free".
The easiest were the side marker lights. Just pop the lens out with a trim tool and swap the bulb. The tail lights were easy as well.
The hardest lights were the "eyelids" above the head lights. I made a tool out of a spare front brake caliper spring for those.
You can find the list of bulbs on the forum.
Here are some pictures:
Steering Wheel Cover
"Keep your eyes on the road and your hands upon the wheel..." - The Doors.
March 15, 2024
I noticed that my steering wheel was starting to look a little worn. I decided to buy a steering wheel cover for it.
I didn't want some just throw it on there cover. I wanted something that looked like it came from the factory.
I found a sew on kit on amazon for about $15.00. It took a while, but I put on the radio and it was kind of relaxing to do it.
I took my time and the end result is great!
I only stabbed myself twice! LOL The finished product!
I used long needle nosed pliers, but I could only turn them a little. This brake spring got it to go the rest of the way. It was still a pain int the ****.
I'll have to get a pair of the forceps and try those next time.
Restoration with 3M kit. Before and After. March 18, 2024.
Having replaced the halogen headlights with H7 LEDs, I decided I should improve Sven's night vision even more.
I got the 3M kit and went to work. I taped off around the headlights, but ended up putting my car cover on because my neighbor's tree was dropping pine needles all over the place.
I followed the instructions and they came out great! I also sprayed them with a U.V. protective coating.
What a difference!
Valve cover and Breather Cover Gaskets and oil Filler Gaskets (PART 1 OF 3)
Svengoolie doesn't wake up oily in the morning anymore!
March 27 to April 1, 2024
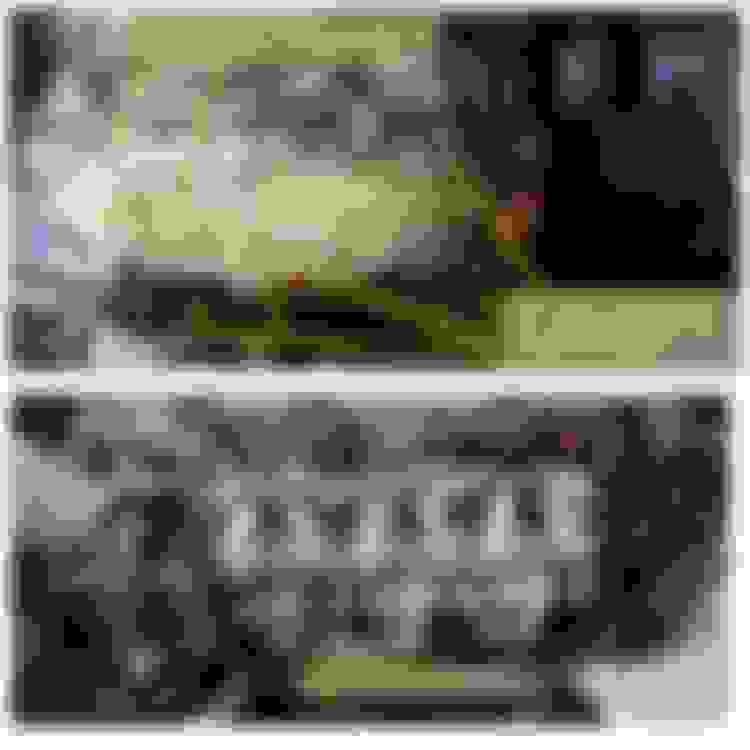
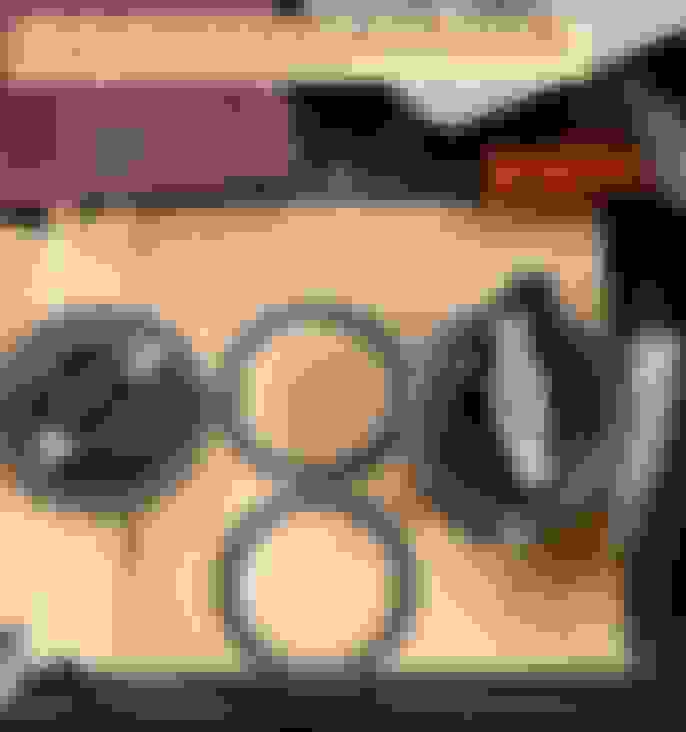
I replaced the valve cover gaskets, made new RTV breather cover gaskets and replaced both oil filler cap gaskets.
Keeping everything clean is the key to doing this right.
Here are pictures with descriptions on how I did the work to my car;
Valve cover and Breather Cover Gaskets and oil Filler Gaskets (PART 2 OF 3)
Svengoolie doesn't wake up oily in the morning anymore!
March 27 to April 1, 2024
I replaced the valve cover gaskets, made new RTV breather cover gaskets and replaced both oil filler cap gaskets.
Keeping everything clean is the key to doing this right.
Here are pictures with descriptions on how I did the work to my car;
Valve cover and Breather Cover Gaskets and oil Filler Gaskets (PART 3 OF 3)
Svengoolie doesn't wake up oily in the morning anymore!
March 27 to April 1, 2024
I replaced the valve cover gaskets, made new RTV breather cover gaskets and replaced both oil filler cap gaskets.
Keeping everything clean is the key to doing this right.
Here are pictures with descriptions on how I did the work to my car;
Svengoolie sparks up a conversation! March 27, 2024
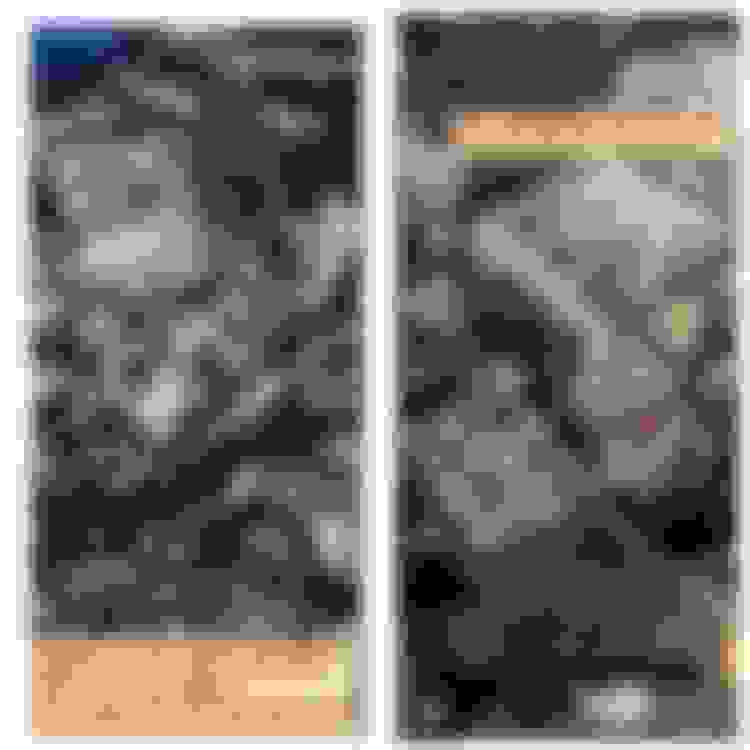
I replaced the spark plug wires and spark plugs. The tools I used were: 17mm Spark Plug Boot Puller, Magnetic Swivel Spark Plug Socket Set 14mm & 16mm 3/8” Drive, 3/8" Drive Ratchet Wrench, 3/8" Drive Extension, Gap Tool and T-30 Torx.
I removed the coil packs to clean and inspect them. The spark plugs were the originals and were hard to remove. Having the valve covers off made the job easier.
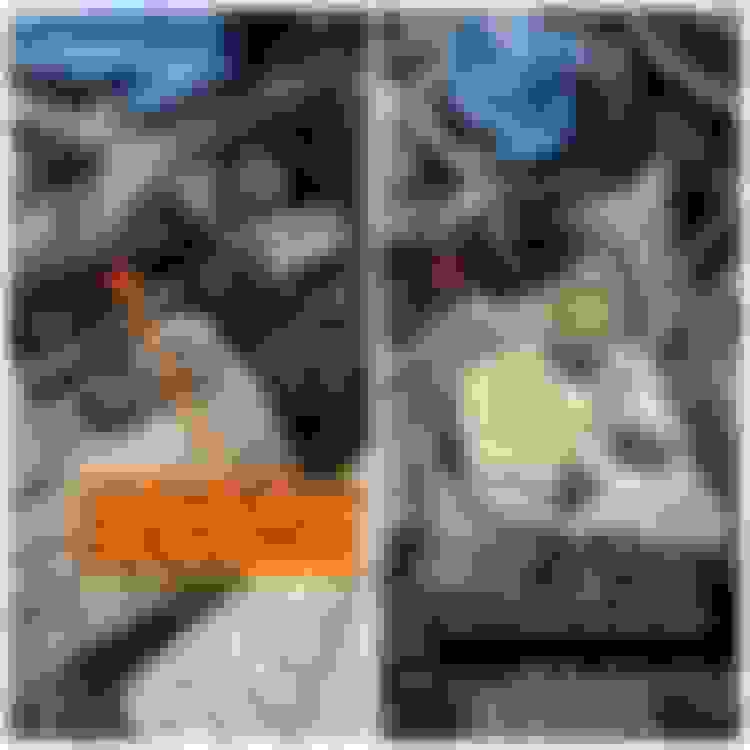
Don't be a hoser!
April 1. 2024.
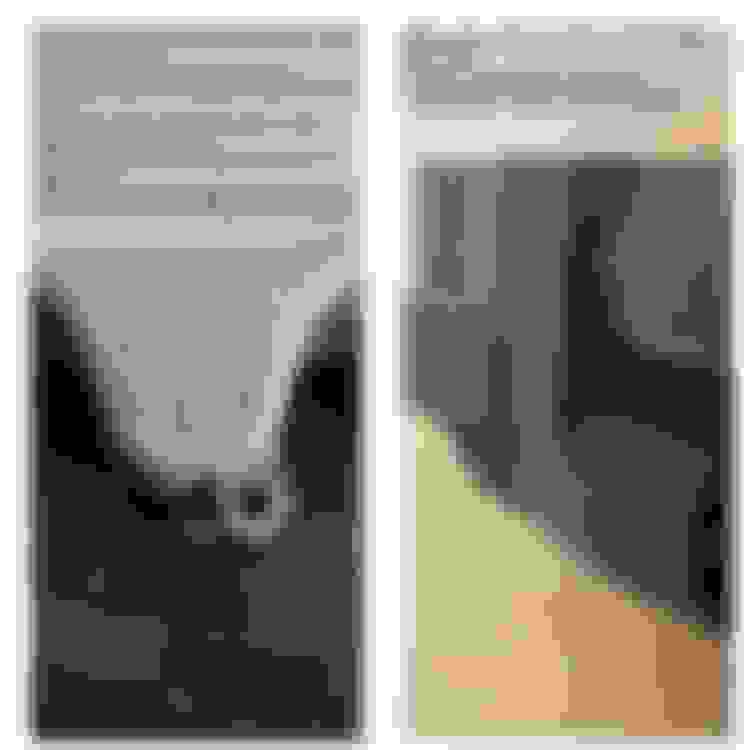
I replaced all of the breather hoses and the main connector. I also broke the MAF Sensor locking clamp.
Be very careful with the plastic parts!
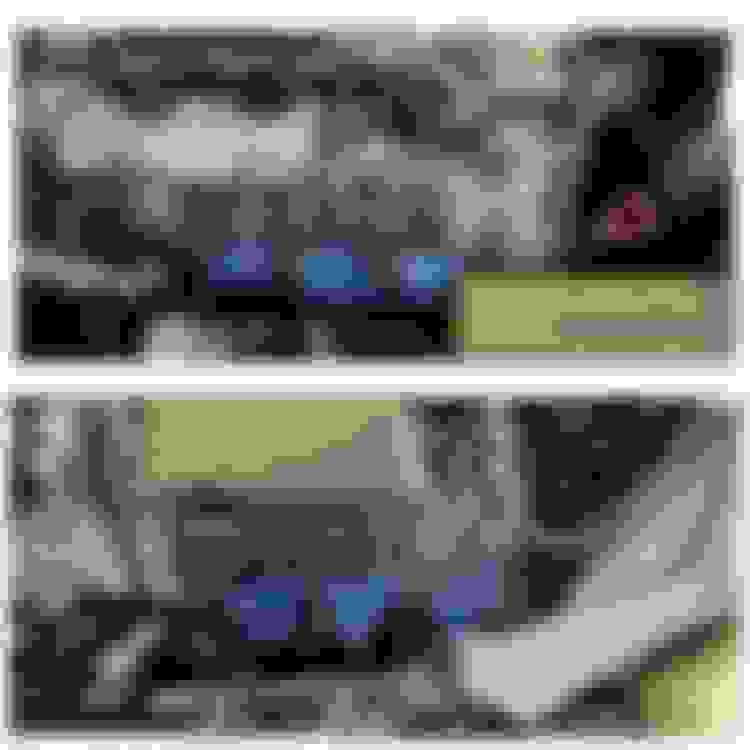
Sven plugs in and turns on! April 5, 2024
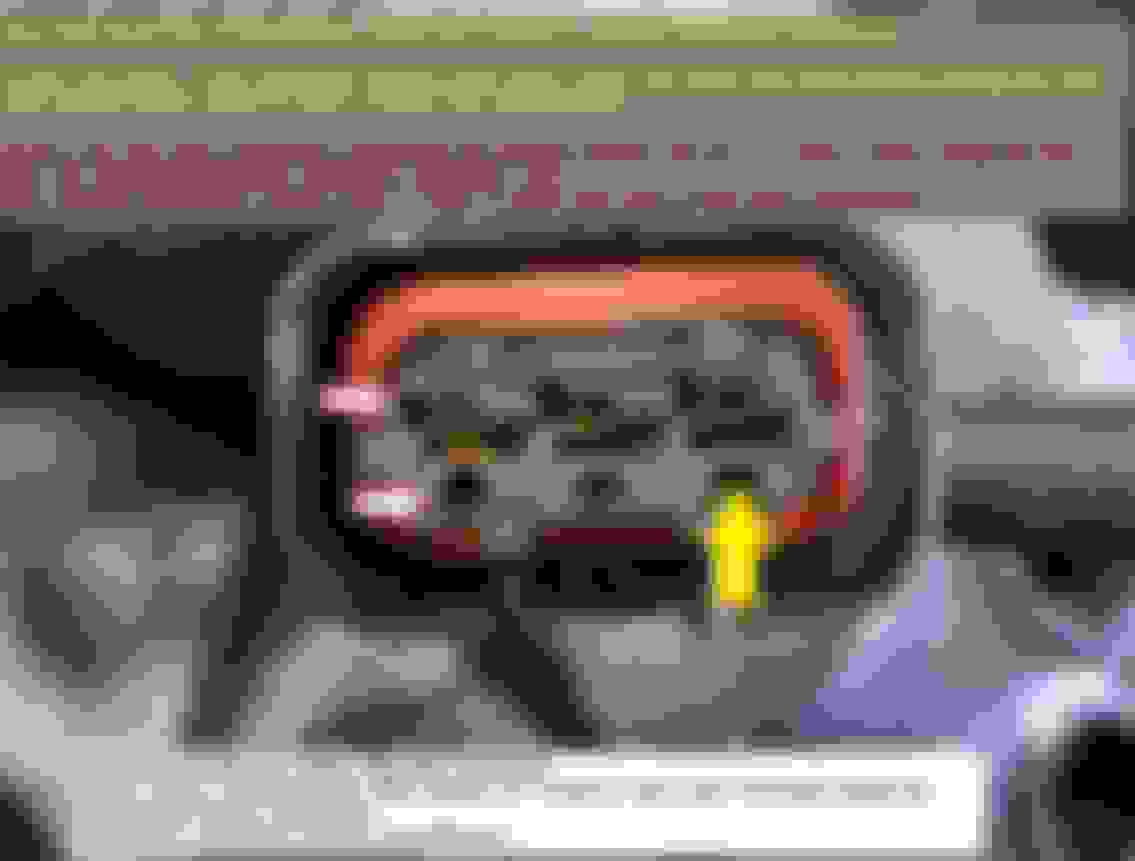
When I was replacing the valve cover gaskets I had to remove the coil packs. The plastic on the connecting plugs was so brittle that the piece that clips on to the coil broke on a few of them.
I decided to replace them with new ones that I got from Mercedes-Benz.
Here's how I did it:
Really love following this journey. This should be a sticky of how to do the maintenance on our cars. It has literately everything in it besides maybe some fluid changes LOL. Or maybe it's in and I Just missed it but I thoroughly enjoy this thread and will come back to a lot of the DIY instructions as I tackle them on mine! Thanks!
It is a pleasure reading the totally comprehensive posts/pictures you are producing to help the membership. Your details while doing the job are SUPER. Thanks John!
Really love following this journey. This should be a sticky of how to do the maintenance on our cars. It has literately everything in it besides maybe some fluid changes LOL. Or maybe it's in and I Just missed it but I thoroughly enjoy this thread and will come back to a lot of the DIY instructions as I tackle them on mine! Thanks!
I appreciate the kind words. I try to do the best I can to help others.
I did do a post on changing the gear oil. Coming up soon will be changing the manual transmission fluid, power steering fluid and reservoir (winter project), as well as some other stuff.
Thanks again,
John
It is a pleasure reading the totally comprehensive posts/pictures you are producing to help the membership. Your details while doing the job are SUPER. Thanks John!
.
Thank you George!
I'm glad that I took your advice about making it easier to read the captions.
It really does make a big difference!
John