When you click on links to various merchants on this site and make a purchase, this can result in this site earning a commission. Affiliate programs and affiliations include, but are not limited to, the eBay Partner Network.
Took me six months, but I have my car back on the road again. Returned from the alignment shop just this morning and she is straight as an arrow, I was most concerned about the frame, but the thrust angle measured this morning is 0.02 so I am very happy. I will remove the front bumper and repaint it in the next couple weeks, but she is running as good as ever and we are ready for the Dragon this Fall. See you all.
My car is identical to that. Why were u worried about the frame
In keeping with European practice the type of material will be moulded into the interior face of the bumper, likely near the part number.
So can I see it from underneath or do I have to take the front bumper off to see what type of plastic it is ? That sound a little extreme . I don't mind crawling under the car if you can see it but really?
So can I see it from underneath or do I have to take the front bumper off to see what type of plastic it is ? That sound a little extreme . I don't mind crawling under the car if you can see it but really?
A simple search on Google will tell you that it is probably made from polypropylene of some kind. Polypropylene is more flexible at cold temperatures and less likely to crack than some other plastics commonly used in the auto industry.
Maybe you�ll be lucky and someone with their bumper off will look for the plastic type.
I just spent a leisurely morning detailing the inside of my crossfire, getting her ready for the Ozark GTG next week.
Now that I'm at home, I can take the time and do a portion of the getting ready a little at a time and not kill myself.
Good evening everyone ,
I have a few questions
1) The harness clip in the trunk area . This is the one on right side . One end in attached to the trunk hinge and the other side is attached to the wiring harness - this is broken and the clip no longs stays in he slot on the hinge - does anybody know the part number or where I can get it?
2) I want to change the dome lights to LED's - the light is just too dim for me.. I know about getting Can Bus ones for the car, but how in the world do you get to them. I don't want to crack any plastic parts ($$). I am assuming just press something in the front or back between the lens and the frame??
Also I added this to the car control ***** - I always thought it looked strange without it.
Could you please tell me what you used for the letter?
I put LEDs in my dome light, much brighter. I will look for the number, they will not turn the bulb light on as the interior bulbs are not on that system.
These are rub on letters you can get from the craft store. They are 1/8" font size. I coated them with clear nail polish afterwards - but put it on lightly.
So how did you get the lens off to install the bulbs? that is my issue. Don't want to attack it the wrong way and end up breaking the lens
These are rub on letters you can get from the craft store. They are 1/8" font size. I coated them with clear nail polish afterwards - but put it on lightly.
So how did you get the lens off to install the bulbs? that is my issue. Don't want to attack it the wrong way and end up breaking the lens
You pry it off with a pry stick, carefully.
The bulb you need has the light coming out the end, not all around. I am not sure of the bulb number though.
Thanks for letter info, we used to call that Letraset back in the day. It was a big business at the time and a big seller to the graphics mob, it went out of favour along with that stinky document copying process which used a master and some fluid that probably took years of the life of the operator. The Zerox and computers finished both off to a large degree.
Last edited by onehundred80; 06-16-2019 at 12:54 PM.
Well I removed the lens assembly -- and really - dash type bulbs that you need to remove the bus bar board to get out? These are old fashion dash illuminating bulbs-- the whole base that twist into the board is the bulb - plastic and all? How in the world can you find that .. I would assume you would replace the bulb base assembly with the base that goes back in the hole and then you could replace the bulb with and LED type...
Well I removed the lens assembly -- and really - dash type bulbs that you need to remove the bus bar board to get out? These are old fashion dash illuminating bulbs-- the whole base that twist into the board is the bulb - plastic and all? How in the world can you find that .. I would assume you would replace the bulb base assembly with the base that goes back in the hole and then you could replace the bulb with and LED type...
The cover over the bulb slides down and out and then you just pull the bulb out and replace it.
I recall it is a wedge base bulb, I’ll check.
Here is the bulb I used, you can see the dome-shaped lens at the front of the bulb, no light is lost sideways.
Last edited by onehundred80; 06-16-2019 at 01:30 PM.
James1549.
The ones in my car were permanently attached . I can see the bulb lead welded to the contacts. You are not getting those bulbs out.
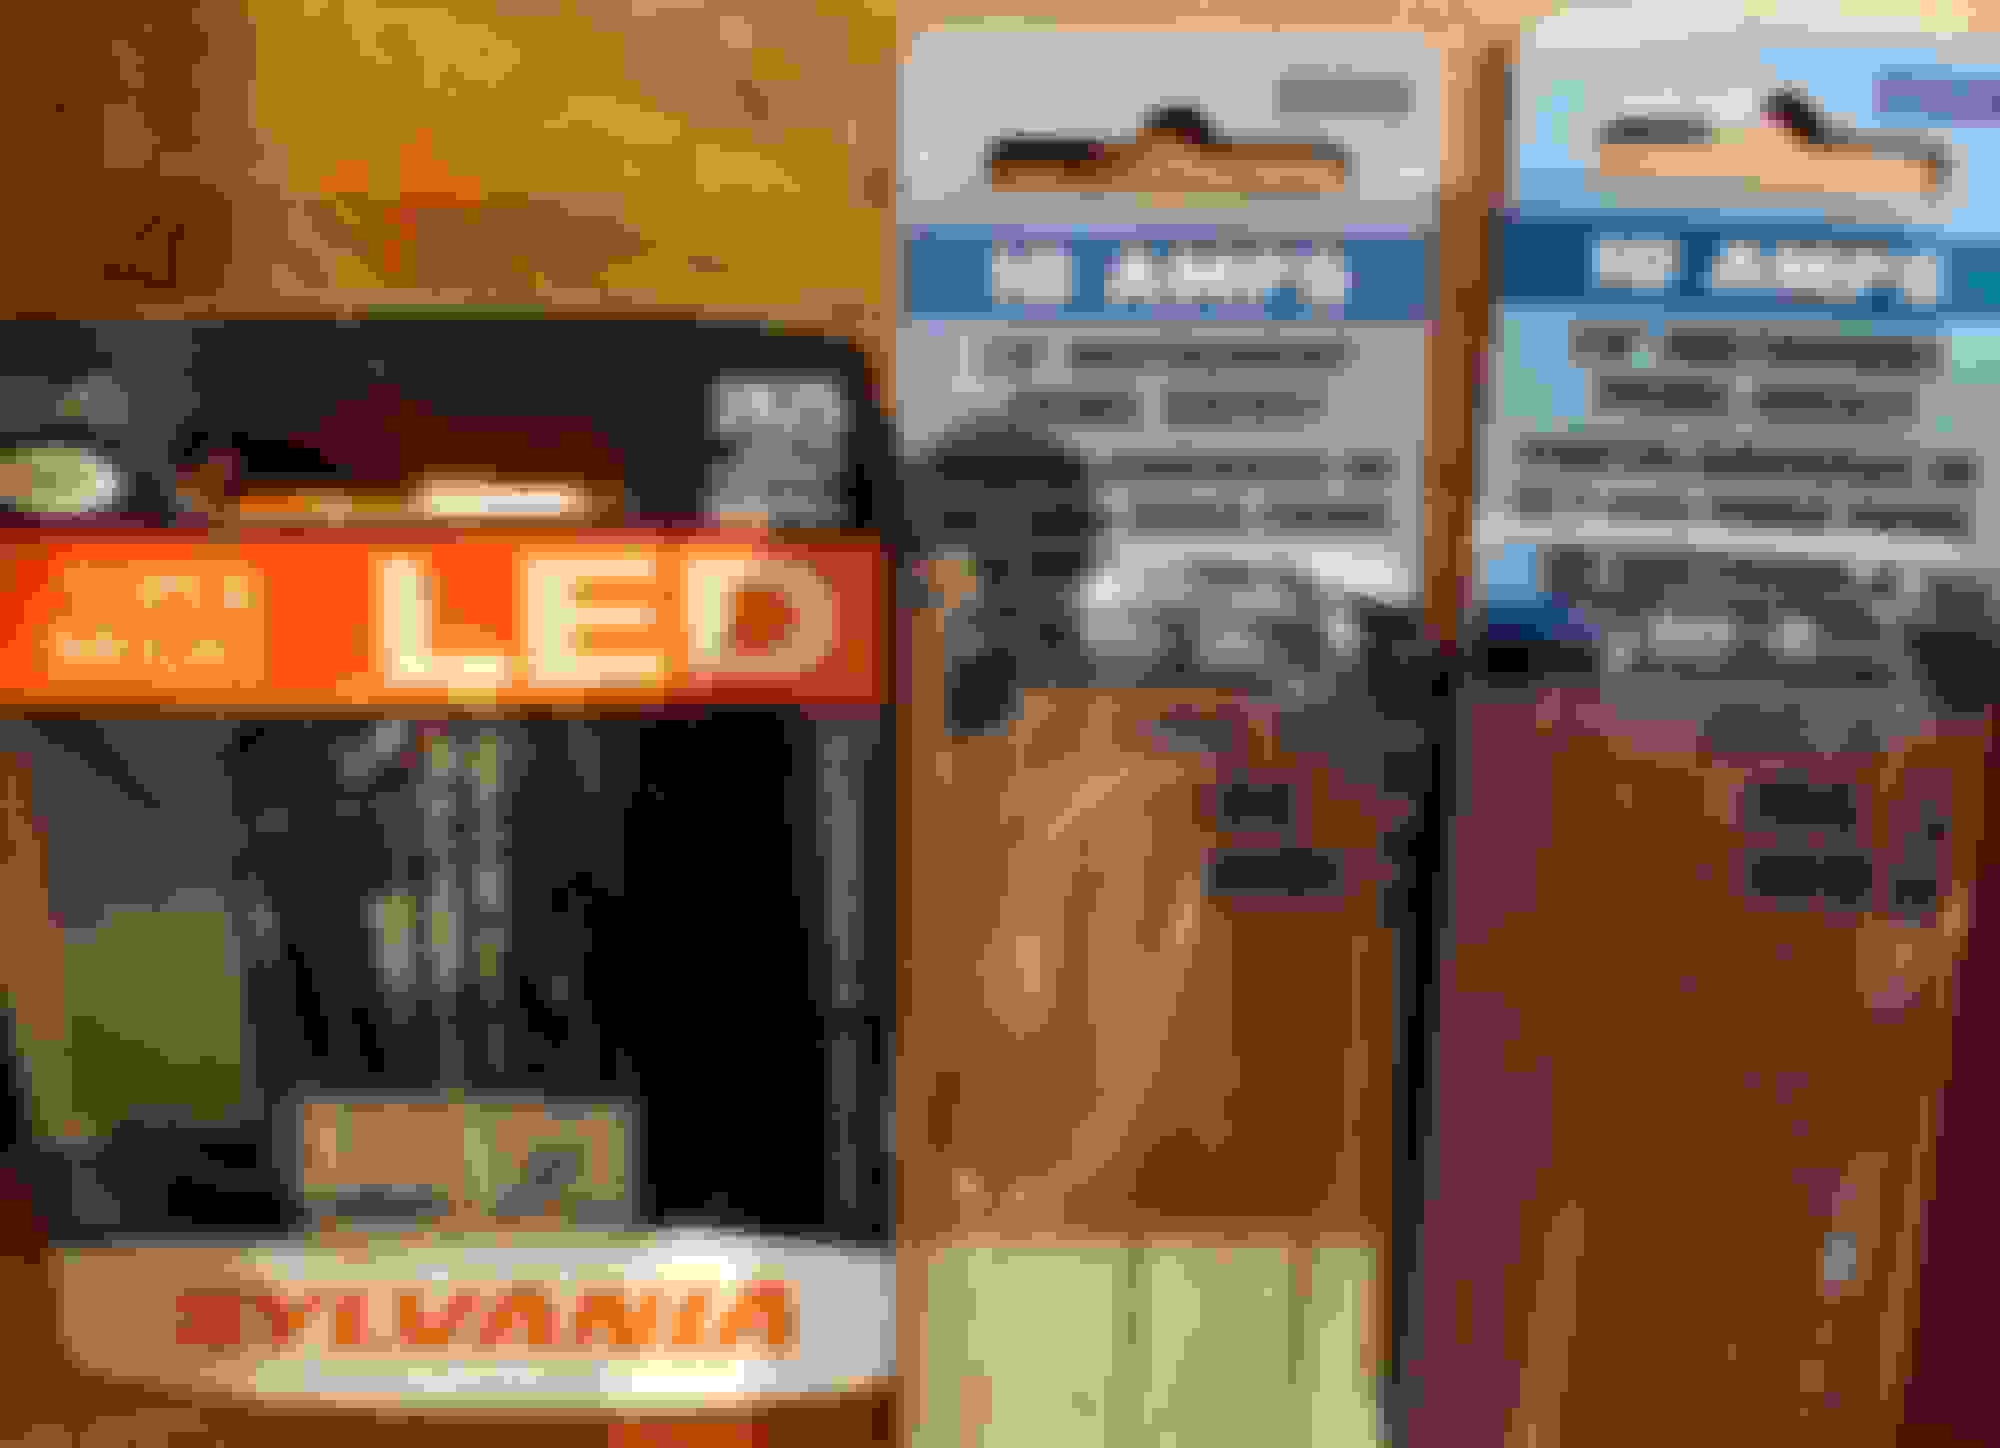
Since these are the same type of panel sockets in my 1974 Dodge Dart ( my first car) dash I found replacement parts at Auto zone
Cost me $25.00 total and about 5 minutes time.
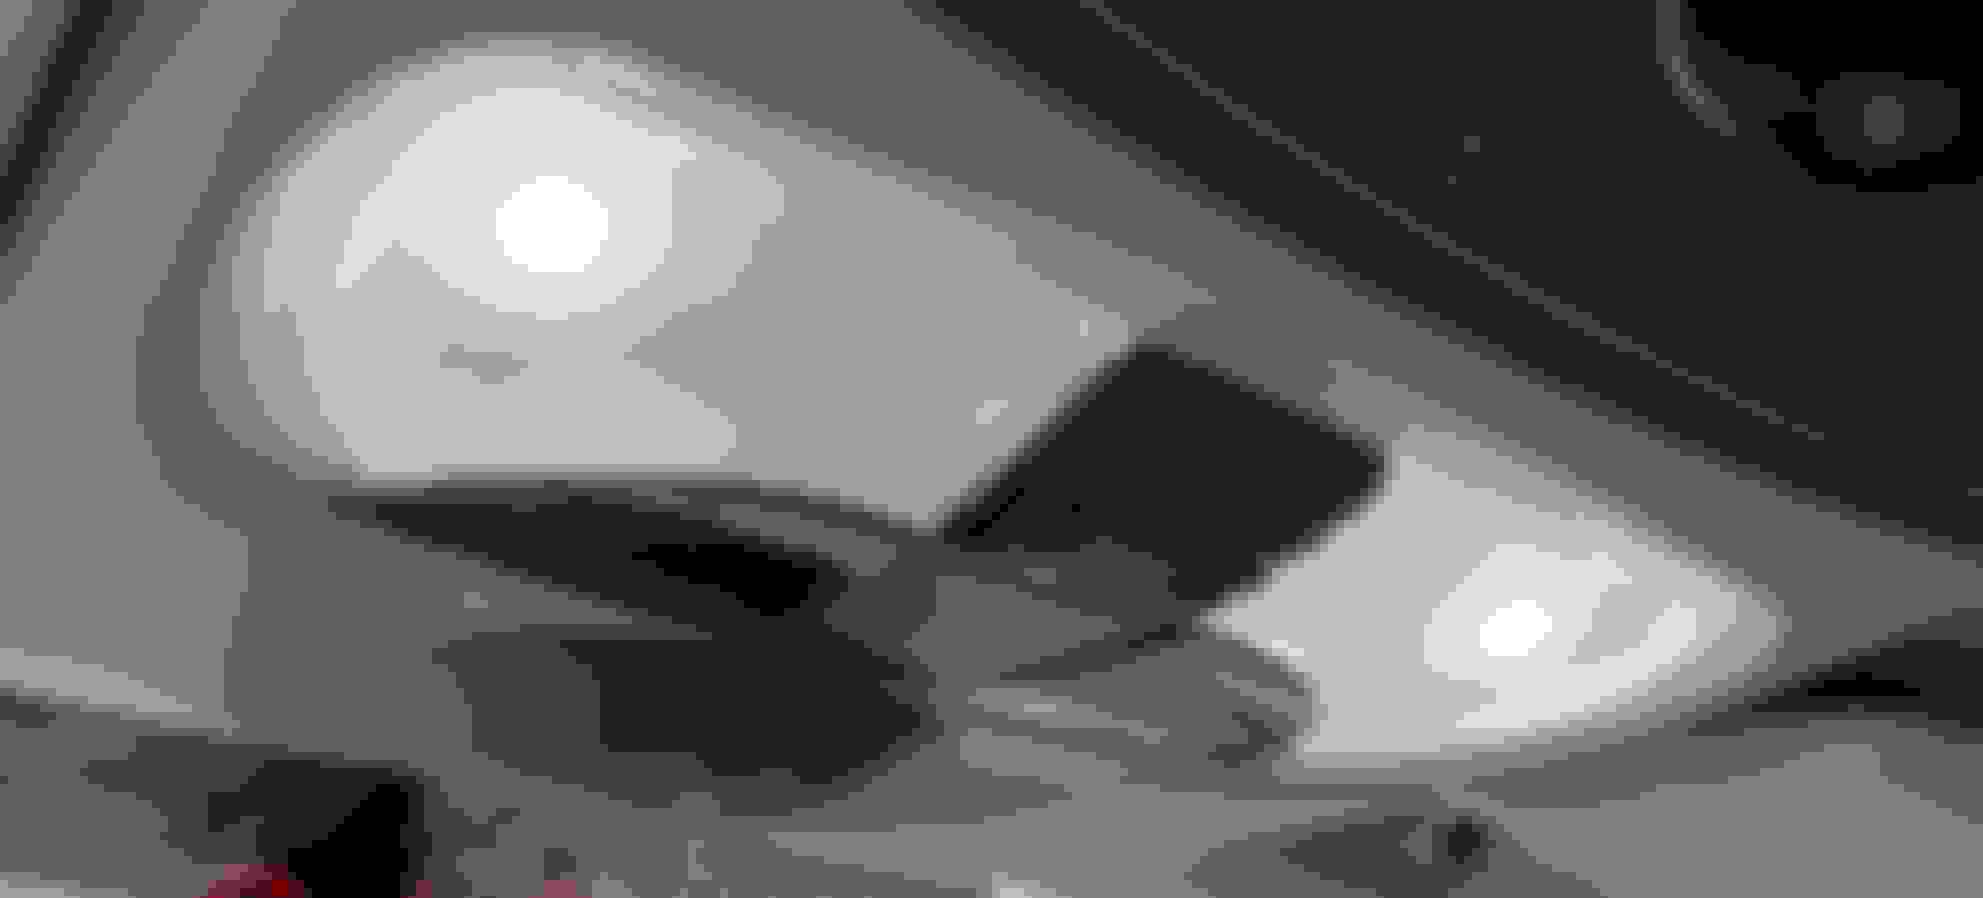
The panel sockets were $1.00 each and the 1 watt LED bulbs were $22.00 for 2. I could have used the .5 watt bulbs - they were $16.00 for 2, but look for another $5.00 I have the 1 watt bulbs and I can now replace them whenever - and get them cheaper - and look how nice they look.
Be careful removing the lens . There is a small black clip at the front (glass side) of the lens - dead center make sure you don't pull the lens assembly down from the back on an angle - You will snap off this clip. Pull it down until it is slightly loose and then un-clip the front tab one. It falls right down. There are two screws holding the upper assembly area. Remove those and this two will have to be carefully pryed down . Remove the old panel sockets if your bulbs are permanently attached Install the new sockets with twist. You may have to push down a bit till it clicks or seats itself. Once done I check the polarity with a meter and marked the positive side on the opposite (bulb side) of the board so that you can make sure you get the polarity right - install the bulbs and check for lights and then re-assembly.
I used a wooden cuticle stick so that it will not scratch anything.
Not just today, but two weeks ago I got a quick jack 5000 so I started to work on the black SRT. I wanted to take off the TSW wheels and put the stock wheels back on. Those wheels are hard to clean so I wanted ceramic pads. Rob fixed me up with EBC red stuff pads and EBC ultra slotted rotors. That�s where the warped rotor problem came in. Rob was great about expediting a replacement from EBC. I also installed stainless brake lines and flushed the system. The pedal feels great. I had a new set of Vredestein tires installed on the factory wheels and while the car was up on the lift I installed new KYB shocks and a new steering stabilizer. Changed oil and filter, installed a new cabin filter and serviced the K&N air filters. The �biggest bang for the buck� mod was never done to this car so I added the capacitors in the doors. Pulled the cowl (finally) to clean debris but it was pretty clean, installed the missing wiper grommet while the cowl was off. Almost forgot, replaced the damaged pass headlight, bought one from RedDog, pulled the drivers light, polished both and installed four silver star bulbs while they were out.
Just a note on the shock installation, I used a 36� Irwin furniture clamp to collapse the shocks and strung them with mechanics wire to hold them collapsed when the furniture clamp was released. Then I bolted the bottom of the shocks in place, cut the wire and guided the top into place as they expanded. Didn�t they used to come collapsed like that? Now just need to detail it.
Hi Jeff, lots of good work finished on your Crossfire! I've been looking for a portable car lift system. How do you like your Quick Jack 5000? Do you have to raise each side independantly or can you control both sides at the same time??
Both sides raise and lower together. The hard part of the learning curve was figuring out the placement of the lifts so the lift pads hit the jack pads on the car. Once you have that figured out operation is pretty simple. It has two locking points, one two feet high and one at the halfway point. At the top lifting point I could pretty easily roll around under the car on a creeper. I debated quite a while on what to buy, my garage has a low ceiling so nothing taller inside would work, thought about mounting a two post in my back driveway but figured no matter where I put it it would eventually be in the way. So, I bought the quick jack. The hoses all have quick connects so storage is easy, just shove the lifts under the car.
Both sides raise and lower together. The hard part of the learning curve was figuring out the placement of the lifts so the lift pads hit the jack pads on the car. Once you have that figured out operation is pretty simple. It has two locking points, one two feet high and one at the halfway point. At the top lifting point I could pretty easily roll around under the car on a creeper. I debated quite a while on what to buy, my garage has a low ceiling so nothing taller inside would work, thought about mounting a two post in my back driveway but figured no matter where I put it it would eventually be in the way. So, I bought the quick jack. The hoses all have quick connects so storage is easy, just shove the lifts under the car.
So did you purchase the standard 5000# version or the extended 5000# version? It's only $50-60 more for the extended version but concerned whether it will fit under the Crossfire & my other daily commute vehicles.
Last edited by dedwards0323; 06-17-2019 at 01:15 PM.
Standard. Ext. might be too long. Would have to check specs and measure to be sure. I do know that the lifts must be off center to the front of the car or the back of the lift hits the rear tires and that is a problem. I know this from a bad experience.
Does anybody know where I can get ones of these? It is a clip that hold the harness tubing in place. It is located on the right side of the trunk. it is supposed to be attach to the hinge , but it looks like the catch broke off.