When you click on links to various merchants on this site and make a purchase, this can result in this site earning a commission. Affiliate programs and affiliations include, but are not limited to, the eBay Partner Network.
Roberta & I shared a bottle of wine on our deck drinking from the copper wine glasses we bought at Big Cedar Lodge near Branson, MO during the XFire Ozark Mtns GTG in Eureka Springs, AR the last week of June. Life doesn't get much better than that!
As I had these in my Coupe for several years I got another set from Amazon and installed them in my Roadster today Easy to install on the Roadster too...just lift the bow and rear deck and reach inside to access the sockets. These are bright RED LED's and are much brighter than the OEM brake/tail light bulbs
As I had these in my Coupe for several years I got another set from Amazon and installed them in my Roadster today Easy to install on the Roadster too...just lift the bow and rear deck and reach inside to access the sockets. These are bright RED LED's and are much brighter than the OEM brake/tail light bulbs
I�m a little confused
Are you parked in a crumbling infrastructure zone or are you trying to give your car a bath? We usually wash ours with a hose, they are easier to control.
Very Nice backdrop
Your car looks great
Happy weekend all
As I had these in my Coupe for several years I got another set from Amazon and installed them in my Roadster today Easy to install on the Roadster too...just lift the bow and rear deck and reach inside to access the sockets. These are bright RED LED's and are much brighter than the OEM brake/tail light bulbs
I have determined that these LED bulbs do create the "light out indicator" in my Roadster This didn't occur in my previous Coupe but I'm not gonna remove these LED's because I like them to much
I�m a little confused
Are you parked in a crumbling infrastructure zone or are you trying to give your car a bath? We usually wash ours with a hose, they are easier to control.
Very Nice backdrop
Your car looks great
Happy weekend all
In another post I asked if it was a Hillbilly drive thro� car wash.
3 days a week I have 4 hours to kill, they have free Wi-Fi, and refills on soda. plus they are only a couple blocks from my next stop.
I think you missed the point of my joke, too deep maybe.
I’ll explain it, the two people with taste in the McDonalds had Crossfire’s and the others did not.
It can also be read that the food is not the best, but we will not go there.
Last edited by onehundred80; 07-15-2018 at 03:46 PM.
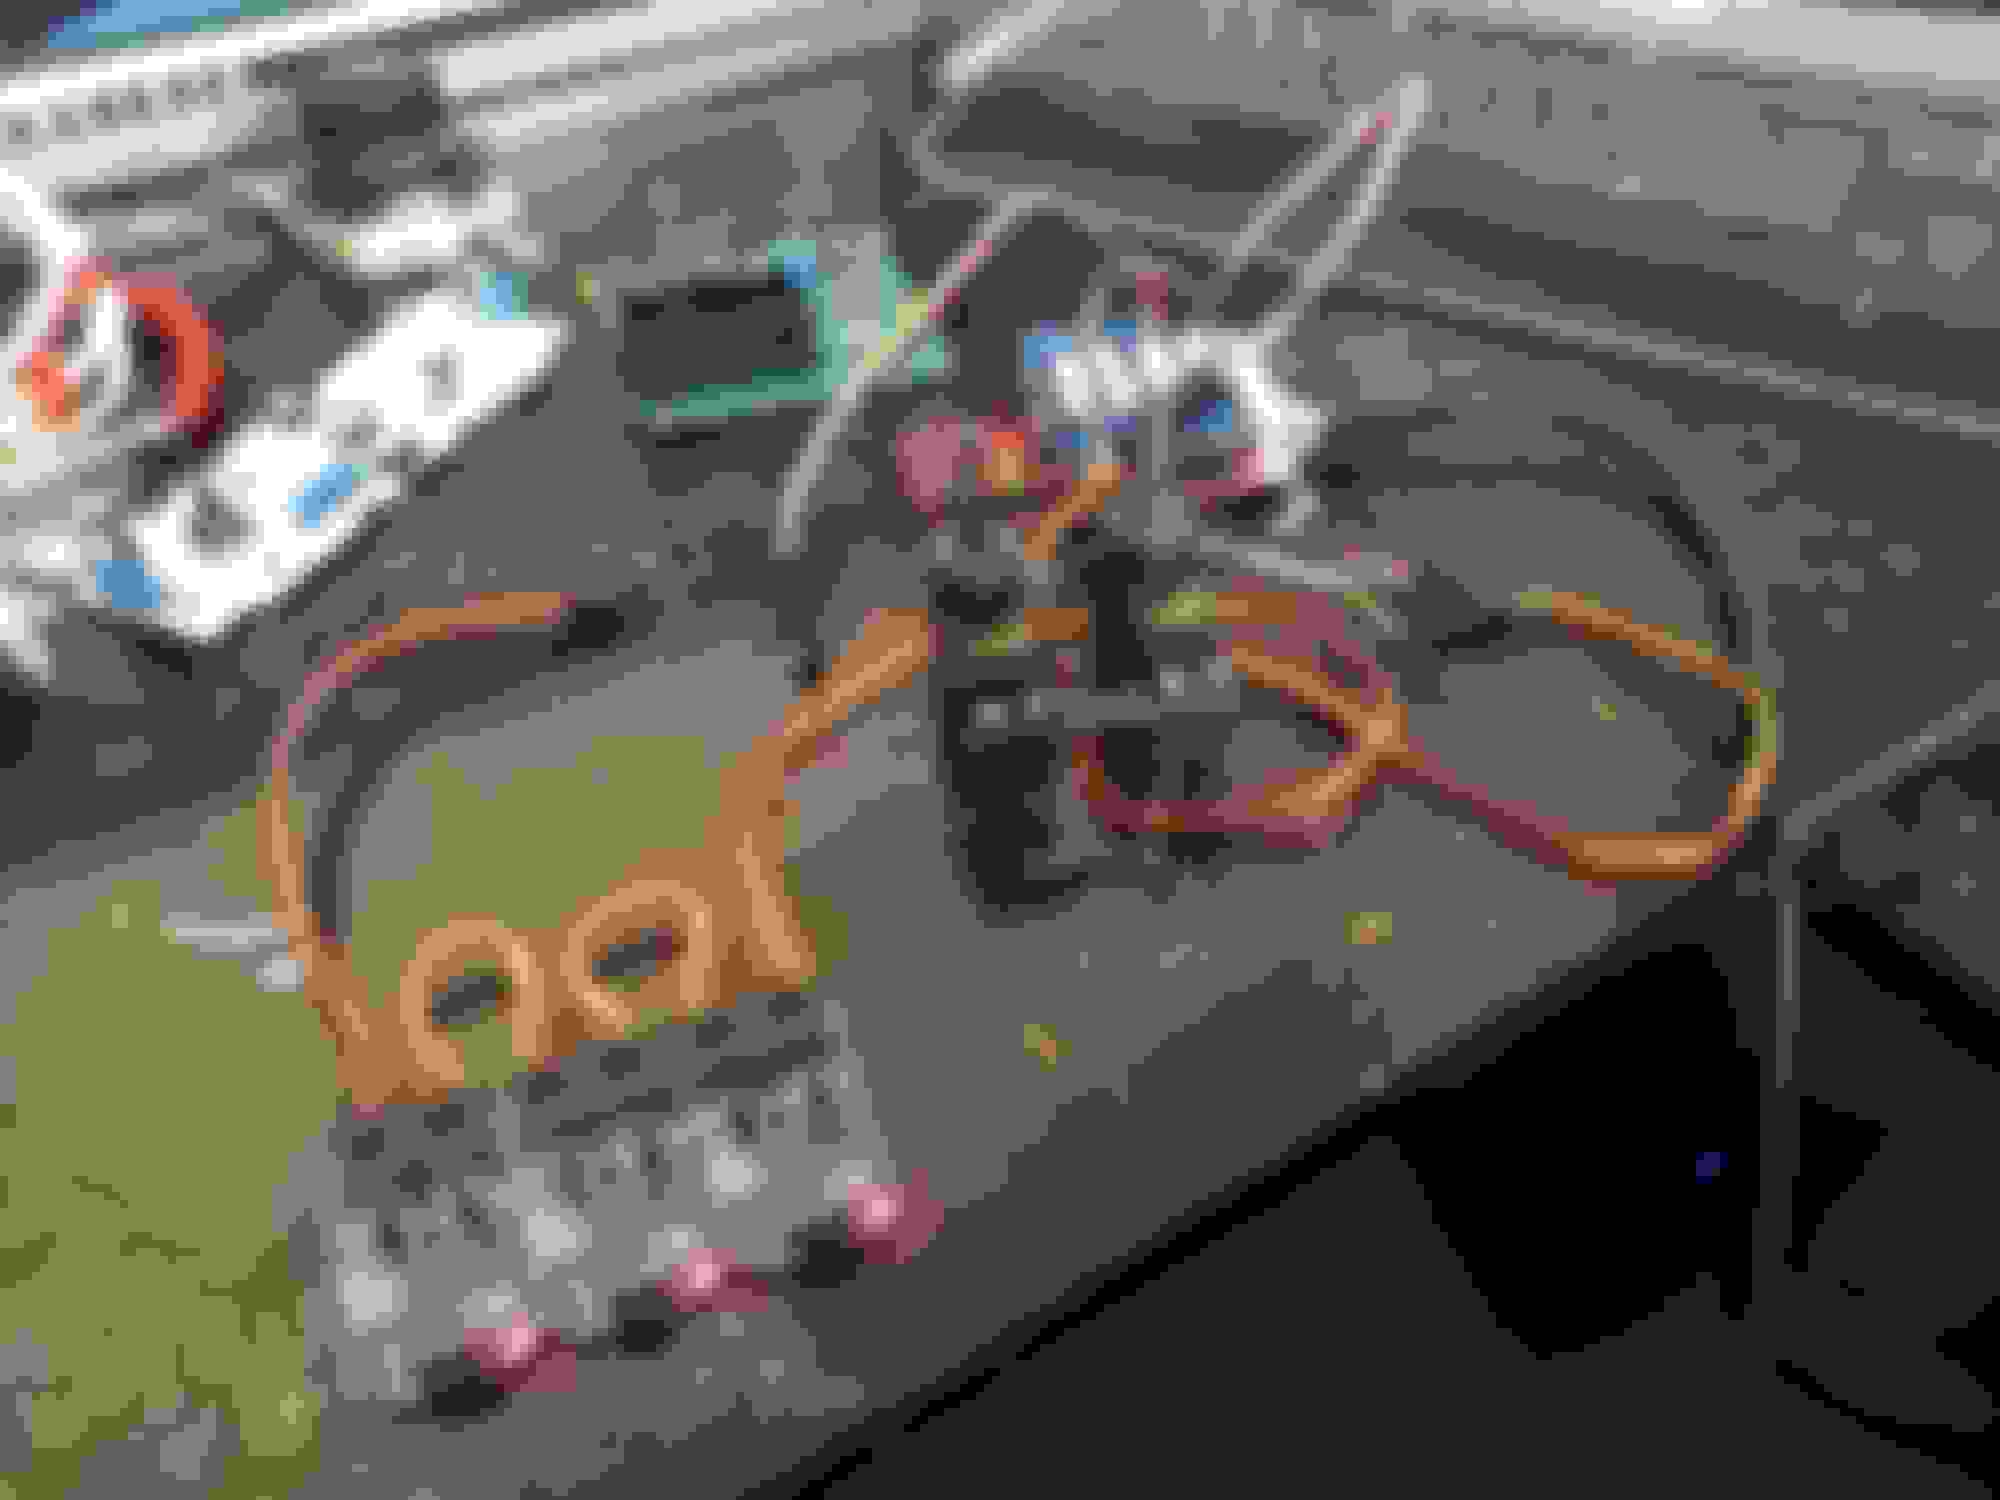
Got my new servos in over the weekend so I can finally proceed with the project. So far, I did a rough temporary bracket to space them apart and simplified the keyways that I am going to use. I decided to ditch connecting the servos to the ball jonts and connect them right into the female shafts to save about 20MM of space. I worked out how far each damper can turn and the start and stop angles of the open/close positions so it will make life a little easier in the future.
I also started to trace out the front control panel PCB because I wish to eliminate it to save space. There is not much on it so it should be easy to do. If all goes well, I will be able to interface with the back control baord behind that PCB to make everything function. A second reason I want to do it is to be able to pop the front board back on if something were to ever fail.
The white board in the top left of the picture is the one I wish to eliminate. I plan to make a 18 pin connector I can plug directly into the AC controller (green board to the right of it) to emulate the front board. The three blue boards that are stuck together are the 5K digital potetiometers that will be replacing the temperature controls and fan speed. I know the original pots were 4.7K but 5K should be plenty close enough.
Below are the servo motors connected to the dampers. I was testing them here to ensure they can turn the dampers without any issues. They have plenty of torque to serve their purpose in this project
This is the back of the white interface board in the first picture. I was marking where all of the traces go so it will be easier to make the connector when the time comes. Still have a couple of things to trace but its almost there.
My next step is to complete the programming and then fit everything into one housing I can insert into the original climate control space
Got my new servos in over the weekend so I can finally proceed with the project. So far, I did a rough temporary bracket to space them apart and simplified the keyways that I am going to use. I decided to ditch connecting the servos to the ball jonts and connect them right into the female shafts to save about 20MM of space. I worked out how far each damper can turn and the start and stop angles of the open/close positions so it will make life a little easier in the future.
I also started to trace out the front control panel PCB because I wish to eliminate it to save space. There is not much on it so it should be easy to do. If all goes well, I will be able to interface with the back control baord behind that PCB to make everything function. A second reason I want to do it is to be able to pop the front board back on if something were to ever fail.
The white board in the top left of the picture is the one I wish to eliminate. I plan to make a 18 pin connector I can plug directly into the AC controller (green board to the right of it) to emulate the front board. The three blue boards that are stuck together are the 5K digital potetiometers that will be replacing the temperature controls and fan speed. I know the original pots were 4.7K but 5K should be plenty close enough.
You have done some very interesting things so why not put them in their own threads and keep all the information together?
I tried to start a post a while back documenting my progress on my 10 inch screen install. It said it required approval but was never approved :/
If you are a signed up member you can add new threads,maybe you picked a locked forum or you were not officially signed up.
Try again by testing in the forum for tests at the bottom of the main page.
Do not add anything of importance there as it is cleared every week.
I think you missed the point of my joke, too deep maybe.
I’ll explain it, the two people with taste in the McDonalds had Crossfire’s and the others did not.
It can also be read that the food is not the best, but we will not go there.
I got the joke, obviously he was Deep in thought, and we were both smart enough to show up after lunch when the fries are fresh, and there is actually at least one more person at this McDonalds with good taste.
one of the Employees likes my car.
Yeah, I could have got them cheaper, but I was going there anyway.
I noticed yesterday that my rear turn signal bulbs were shedding the orange coating, so last night I ordered some online from Advance Auto/CARQUEST for store pickup in Farmington
, IL. I live in Springfield, and could have gone to any number (well, actually it would be a finite number.) of places, but I had to deliver parts there anyway.
I walked in dropped off the parts and the owner said he had nothing going back.
I asked if he had my order, he did, but didn't realize it was for me, figuring it was a screw up in the system, but he had it ready.
kind of funny some of the looks I get from farm boys in trucks when I show up with their special order parts in a Crossfire.
so long story short. I replaced my rear turn signal bulbs in a gravel parking lot in a small town of 2400 people.
This is the second pair of subwoofers I've rebuilt. It is not difficult and the 13 year old subwoofers work and sound like new again . . . An inexpensive fix for this inevitable problem on all Crossfire subwoffers . . .
My Roadster turned over 50,000 miles last week, so after 13 years, I figured it was time to change the supercharger oil. WOW did it stink...looked like vampire blood. now, it’s time to replace gaskets, seals etc on the trans as it is weeping a bit of oil. I just LOVE this car! still.
The Tb may not be the issue.......I am in Milliken co and could help you with the issue as I have done that swap for many Colorado xfire owners and they all worked great.
Didn�t see your reply. Good to see other Colorado crossfire owners. I suspect it was the eBay MAF housing at this point. The seal between the elbow and the MAF housing was stuck and I believe that�s where the air was getting in. I�m back to stock, albeit with a polished TB and the car runs well again.